Wreath
Snowflake
(&
possible ice drop)
The
colours, texture, and central hollow create a wreath-like effect that can be
inserted over a bauble or a candle. It can be suspended as a tree ornament or add bling for earrings or pendant. We can also continue on the back with a
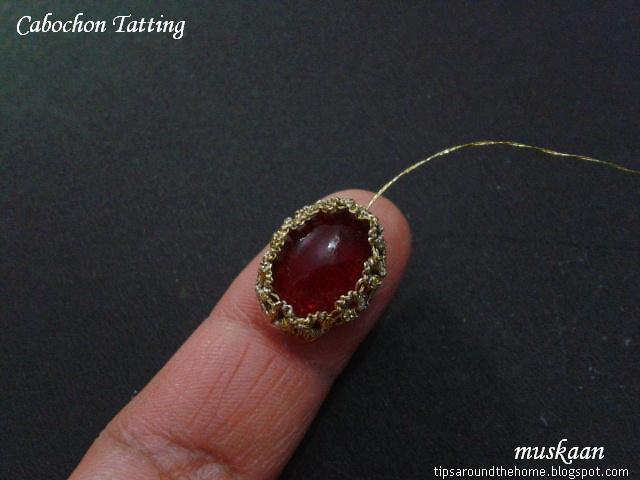
ring/chain round to encase a gem for an ice drop.
Model
tatted with Anchor Pearl Cotton size 8 measures a tad over 1¾”. The glass gem
has a diameter of just over ¾”
A
rings-only pattern using 2 shuttles to stack them facing opposite directions
(ring as fish). If it is your first time using Auld’s bobble, I recommend first trying
Ninetta’s pictorial and then making one motif (repeat) of this pattern with
scrap threads before attempting the actual flake.
Abbreviations and Notes :
Sh = shuttle. R =
ring . SS = switch shuttle. JR = Josephine ring (half stitches)
Sh1 – green ; Sh2 – red
I tatted over tails at
the start, hiding under respective rings.
Θ - Rhoda Auld's
method to join stacked rings, as shown by Ninetta. It basically captures the
other shuttle thread within the open ring, between 2 stitches.
For odd
rings (green here), follow Ninetta’s method. Pass Sh2 through ring from behind, and over
the shuttle (core) thread.
For even
rings (red here), do the opposite : pass Sh1 over Sh2 core from above and down through
ring loop.
Always keep previous
work to the left.
RW = reverse work. I started off without any reverse work as
in the tutorial, but found that the thread emerged on the ‘wrong’ side of ring.
For some reason, RW made it easier to manage the bare thread space! Hence, it
is better to RW after each ring in this pattern.
bts – Sh2 (red) bare thread space
about 1ds wide on the outer edge of both sides of the odd rings, ie. a total of
2 or 2½ ds wide bts
Do not leave any bts
before starting green odd rings.
Pattern :
Sh1 :
R1: 3 Θ 3. rw, SS
Sh2
: R2: bts, 6 Θ 6. rw, SS rotate
Sh1 :
R3: 9 Θ 9. rw, SS rotate
Sh2
: R4: bts, 12 Θ 12. rotate
JR: 10. rw, SS Capture with overhand tie to center the
floating ring.
Sh1 :
R5: 9 Θ 9. rw, SS
Sh2
: R6: bts, 6 Θ 6. rw, SS
This completes
the first motif. Repeat 5 more times, joining back in a circle.
Do not cut
thread. Continue around the inner margin with a lock chain. (I had already cut
off threads when the idea occurred, hence you see a green lock chain).
Lock Chain : [5
+(space after R1)]x6.
Cut and tie and
hide ends.
OR continue with the lock chain to make a loop for tree ornament.
OR continue at the
back with rings and chains to encase a cabochon for ice drop.
I
am not happy with my Josephine rings. Pearl cotton is not a good thread for
tiny rings or JRs. Perhaps next time I will use beads instead.
My
initial idea was to use stacked rings only as a central round, adding more
round(s) on the outside. But I like the shape and didn’t feel like disturbing
it. The idea for outlining the Inside, came to me suddenly a couple of hours
back, and I made the lock chain.
Another
idea alongside, was to make David’s Star in the negative space using interwoven
lock chains.
What
do you think? Your opinion and suggestions are valuable, so please speak freely.
TõTõT
Have
I told you yet? Since mid-2017, I haven’t uploaded any pics to my pattern page
– it is already so crowded!!! Then I had this idea and started a few months
back - listing all my patterns in Google Doc files, category-wise. It is easy to update and see at a glance. The
Snowflake patterns are all up to date with a photo and links. Even if a pattern
has a pdf file, I request you to go to the respective blog post since that is
where I may post more tips, and updates. And comments often offer a lot of
ideas J
ËÌËÌË happy deepavali ËÌËÌË