Showing posts with label knitting. Show all posts

Wednesday, 28 December 2022

knit picking

Pin It now!

 I am vegetating - happily! Partially the aftermath of a double infection, partially the cold wave, partially the break in momentum, .... There is literally tons I want and have to do yet cannot rouse myself. And I can't even feel the guilt ;-P. I have literally pushed myself to write this post today, something I love doing otherwise - gotta start somewhere.

Lily Adam of the hugely popular Just-Tatting FB group recently invited some of her friends to join a new group she started called Knit It Fix It. After 4 long years, her hope and encouragement finally roused me to knit something long on my to-knit list. 

I have forever wanted something proper to scrub the soil off potatoes and this being the season for freshly harvested potatoes, it seemed everything fell into place. I chose this size 3 mercerized cotton and UK#12 needles to knit a very basic pattern. The variegation was part of the reason, besides the fact that it was my first ever knitting with thread.

Worked in the diagonal - another first for me. The increase is from 4 stitches to 54 and then reduced.

Today I put it to the test scrubbing potatoes and the texture worked beautifully. Hubby thought I had made a coaster/mat and liked it very much! Now there's a thought and a good way to use up some of my thread stash while selecting a new stitch/pattern for each! 

This is the most basic pattern I found on the net - https://diynatural.com/how-to-knit-a-dishcloth/, but am open to any tips for the future. Care to share your tips?

Undoubtedly, it was great to pick up my knitting needles after so many years and knitting with thread was enjoyable, too. The advantage with thread is that it does not have to be confined to the winters. But of course one needs the will ;-D

Thursday, 16 May 2019

do the twist

Pin It now!
knit legwarmers 
Finally blogging about an old project, started on 11th Jan 2016 and completed on the 31st Jan, and gifted in Feb 2016. Legwarmers for my MIL. The third set I’ve knit for her – she finds my hand knit ones much more warm and comfortable and obviously customized :-D
She had asked for blue and this was the best shade in the pure wool quality. I've suggested shaping the knees, but she prefers these. 


The day I started knitting this, I thought I'd gone blind - the shade was too dark to work with. Very soon the eyes acclimatised.

Yet, the camera had a tough time getting a good fidelity.


Again, I combined 2 stitch patterns from Lesley Stanfield's The New Kinitting Stitch Library. 


Stitch/Pattern #305 is the broader strip. Originally these strips were separated only with a couple of purls. I inserted the narrow braid-like strip from #309.
This came to a multiple of 14+2 stitch repeats [2 purl,7,2 purl,3].

Twist Stitch is common to both. In the narrow braid, the twist alternates.

UK #12 needles for the cuffs, and #10 for the body.
Jaypee double knit Shade/lot: 044931. Around 5 balls (~250 gms) were consumed.

As you can see, I tried various backgrounds, locales, camera/flash settings to try and capture the pattern in the midnight blue colour. It can be quite frustrating.

The knitting journey was undeniably successful and I happily did the twist !!! 

Wednesday, 20 March 2019

bye bye winter

Pin It now!
It’s done; before Holi which signifies the end of winter in the lunar Hindu calendar. Took a bit longer because there were days my mind was cliffhanging ;-P 
On reaching the arms, I realised there was sufficient yarn left to continue in yellow. But to keep the chest warmer, I picked a denser pattern (#44 in The New Knitting Stitch Library by Leslie Stanfield). I was going for flames, but made an error and the pattern turned into diamonds. Still it looked good.
It is also a 16 row pattern that needs with multiples of 6 (+1) stitches. 8 rows have been offset from the original, to change into discreet diamonds.

Finally running out of yarn for the arms & neck strips, I picked up the white and added a trim in yellow. Barely 10 gms yellow left now, phew.
I’m going to embroider a small sprig in white, but have burned the fingers on my right hand. Embroidery (and tatting) will have to wait till the blisters subside.

While the photos may not show it, the blouse/top does look very pretty and hubby approved ;-D
This is fresh off the needles, with no ironing/blocking. Will only be worn next season. I didn't shape the body coz I like breathing space ;-P 


Happy Holi, everybody !!! Colour the town with tatted threads J


Friday, 1 March 2019

changing tack

Pin It now!
According to the Hindu calendar, the festival of Holi will fall on 21st March this year, meaning we can expect the cold to last till then. Taking this into cognizance, I spurred myself into knitting a blouse/tunic. It's been 5 years since my last one! Tatting has really taken over my life.

I was given this yarn and the items knit from it looked fine and were said to be warm. There was a shine which I could live with. But when I started knitting, I just couldn’t get a feel for it. It was too nylon-ish, too artificial. It is a mix of 25% polyamide & 75% acrylic. Has anybody tried something similar? What is your opinion?

I tried earnestly for a few days, but finally gave up before it was too late.  
Frogged it and pulled out yarn from my own stash.


Vardhman Little Angel.  Shade LAL011. I only have 200gms and will again have to resort to a white yoke as in this 2014 top. This is 100% acrylic (at least the current ones on their site – mine are from 2012!), but at least it feels more like wool when knitting.
This is the true yellow shade, not the lighter/pale one in other pics.

I hope to finish it in a week, but there are tatting commitments, which may result in a race against rising temperatures. Thus, I chose a relatively repetitive pattern with just enough lace and change to keep my focus and retain interest.  
I used UK #12 needles for the border (p2,k1) and UK #10 for pattern. This is where it reached after 2 days. 

 
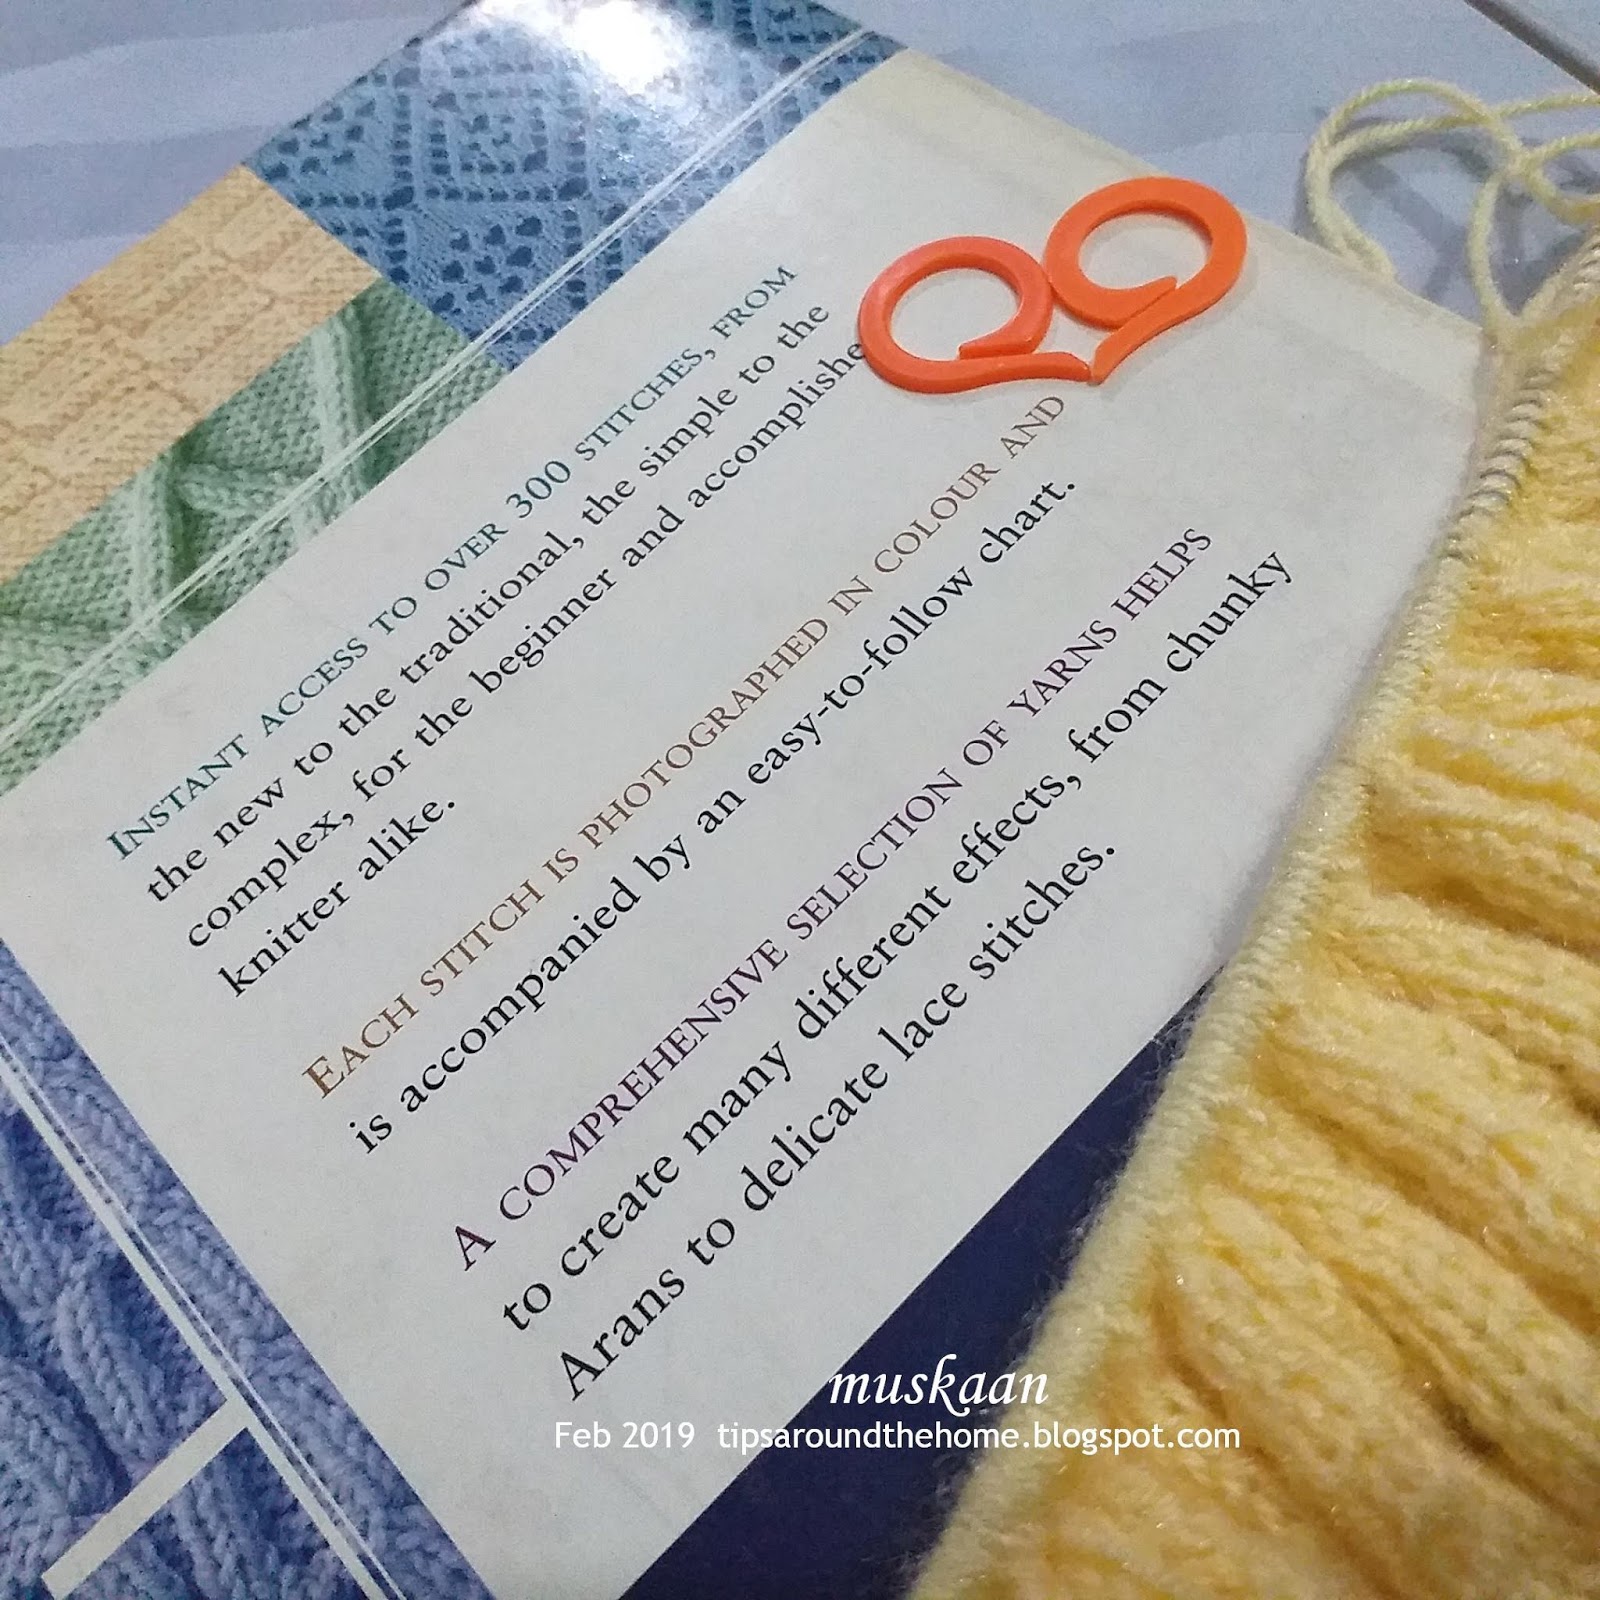
Pattern is again from my favourite book. I just naturally gravitate towards it - one of my Best and most used buys! All patterns are visual charts which I find very easy to follow and navigate. 
The one I chose, #196, is an 8+2 repeat over 16 rows. 


Sunday, 29 November 2015

Knit Afghan 1

Pin It now!
The  Ugly  Duckling


This has quite a story behind it … a case of the unloved,  unwanted  Ugly   Duckling.......

Before the turn of the millennium,
At store … bought blue wool coz I wanted to use my #0 needles.
At home, … didn’t like it – too thick ! Unloved.
Left it with MIL to give it away (for free) to anybody who wanted it – nobody wanted the unknit yarn even for free ! On returning after 2 years, it came back to me. Unwanted.
========================

Square to Diamond  Sampler  Afghan 

.... and it's evolution &  transformation into a graceful swan !

I decided to knit a rug or mat to give away. Because of the thickness of the wool (& no circular needles at the time), I went for small squares with just enough stitches to fit on the needle, to be joined later.
All motifs begin with a normal knit row.
BLUE Square : 7¼” sides ; total 20 ; approx 550 gms wool ;
Pattern #24 from “The New Knitting Stitch Library” by Lesley Stanfield 
UK#6 needles ; Cast on 35+2 stitches
========================
Enjoyed the process & idea, so made squares in red & white leftover yarn, each with a different pattern.
WHITE Square : 7” sides ; total 10 ; ~200 gms
Pattern #291 from “The New Knitting Stitch Library” by Lesley Stanfield
UK#6 needles ; Cast on 33+2 stitches
========================
RED Square : 7” sides ; total 9 ; ~200 gms
Pattern #200 from “The New Knitting Stitch Library” by Lesley Stanfield
UK#6 needles ; Cast on 30+2+2 stitches
========================
As the numbers increased, I sketched out a possible arrangement to form a design, but preferred a diamond arrangement.
Boring Squares !!!! This is how it would've looked if I'd arranged as squares ...

TIP : Easy way to change squares into diamonds! It is easier to knit squares rather than start & end at a point in case of diamonds. But simply lay the square as a diamond &  join/sew as diamonds !


========================

Another dilemma emerged : what to do about the huge triangular spaces along the sides?!
Chose yet another pattern & adapted it for triangles. Not quite happy with the result. If I were to do it today, I would be better able to handle it with this or some other pattern. 
  
BROWN & BEIGE Triangles : 10” base, 7” sides ; 8 each (total 16) ; ~100 gms
Pattern #137 from “The New Knitting Stitch Library” by Lesley Stanfield
UK#6 needles ; Cast on 51 stitches
Since the background in all purl, the central pattern gets raised - nice texture. But it was not visible in black wool; hence chose these leftover colours.
========================
All squares & triangles ready. But how to join ?!

I was looking for a lacy, open effect, and crochet interlinked chains seemed to be the way to go.
Notice how insipid it looks without the black outline in the white & red Boring Squares pic above !
Done in black wool, all around the squares. I crocheted around one entire square. Then started on the adjoining square, joining to previous motif chain as I went. 
BLACK Crochet Chains : I think it is a ch6 (3, slip st, 3).
========================
There were still gaps at the meeting points of 4 squares. Took me a while for the idea to emerge … created the blue & red baby wool stars joining as I crocheted. These stars really brightened up & ‘completed’ the project.

RED & BLUE Crochet Stars : Wendy’s Baby wool 
20 red, 18 blue stars.
Each arm is (ch3,  sl st to black chain, ch3, sl st to center) x8, around a central ring of ch6-8. 
One can use the magic ring/circle, too.

========================
Finished off with a crocheted black chain scallop edging along the borders. I had an idea to sew some satin fabric as a border around the afghan – like a quilt. But that wasn’t necessary – the all-wool piece looked fine.
This is not a regular rectangle. I did knit 4 corner triangles, but preferred the diagonal corners. Hence, this is strictly an octagonal afghan.
FINAL measurement : 49”x71” ; weighs over 1 kg
========================

Okay, all this may seem very simple … but it was a watershed project for me. I had never ever seen anything like this before – no knit/crochet woolen blankets/afghans/quilts. To me, each step required a lot of thinking, evolving, & figuring out. The triangles were done the next year. And the little stars were added the year after that!

What may be a natural in some cultures, was a brainwave for me. It was my very own idea from scratch. Hence, I may be excused for ultimately not giving away the finished piece ;-P 
Yup, I kept My ugly duckling !!! Evolution &  transformation was complete ! And it is so soft & warm (especially the blue wool !!!) & works well as a lap-rug too, while I work at the desktop in winters.
All pics were taken after more than 10 years of use & wash . It is finally on it’s way to being discarded :-(
========================

happy  knitting :-)

Wednesday, 17 December 2014

Knitting : Markers

Pin It now!
Importance of Markers in Knitting

Don’t you just hate to count stitches in a knitting project - & there is a Lot of counting right from casting on to patterning to shaping to customizing ….. Markers help you keep track of short segments so that you do not have to count All the stitches All the time !!!

Whether one is just starting out, or is well-experienced, markers always come in handy at various stages & in all types of knitting. I have tried to capture & list these instances, while knitting this top/blouse last season . Note, however, that one does not need to use a marker for every little thing – my intention is merely to highlight as many possible uses as I could think of .

1. While Casting On :

When one has to cast on a large project, or one is working with thin yarn, the number of stitches to cast on goes up. Equidistantly placed markers are very handy to keep count !
I insert a marker after every 20 stitches while casting on, so that one does not have to go back & count from the beginning each time (this project required around 120 sts for border). No more fear of losing count due to distractions, etc.

2. While Increasing Stitches :

After the ribbed border, in a sweater/pullover, one is frequently asked to increase the number of stitches before starting on the pattern for main body.
These increases need to be spread out evenly throughout the border, for an even, clean look. Markers make it easy to calculate & space out these increases, without having to keep constant count. You can divide the increases between each segment delineated by markers & simply check whether each segment has the required increases.

3. When Starting Pattern :

A pattern is made up of many repeats along the length of the knitting. So once the border is knit, & the stitches are increased, one can count the number of stitches for each pattern repeat & relocate the markers accordingly. This can be done as one is knitting on the 1st row of the pattern.
I have used 2 different patterns (alternating with each other) in this example. One requires 23 sts, while the other 6. Hence the markers (represented by comma) are placed in this sequence : 6,23,6,23,6, & so on till entire length.

4. For Pattern Tracking :

The title says it all…
After a few rows have been knit, & the pattern has been repeated over the rows a couple of times at least, it becomes easy to track the next rows. Firstly, one has memorized the pattern by now, & secondly, the previous rows act as a visual guide. At this time, one can do away with the markers in step #3 if desired.
However, if one is watching the tele, or chatting, or there are other distractions, it might be a good idea to keep the markers in place so as to keep track of the knitting at all times. It acts as a double-check to reduce errors by immediate spotting & rectification.

I forgot to take pictures later - so engrossed in knitting ?! Hope the explanation suffices.

5. To Track Row Count & Shaping :

Markers can be placed along the side - at the start of a new repeat of pattern, or after a given number of rows. Eg. after every 10 rows. This helps to keep track of the number of rows already knit, without having to count each & every stitch/row vertically ! My general rule of thumb is 10 rows.
In my blouse, these markers remained very useful for another reason : the 23-st segment is a 6-row repeat pattern, while the 6-st segment requires only 4 rows to complete !

Markers at the start of rows help in another important way : When one is shaping the chest by increasing a stitch from waist upwards, the row where one increases, can be marked. This will come in handy when one starts knitting the other side (front or back); easy to track where an increase has occurred & repeat it. This keeps the increases on both the front & back of a sweater even & identical And when the time comes to sew the 2 sides together, the seam is very neat & even!
TIP : I use markers in a different colour, for the increased stitch rows.

6. When Pausing Work :
How often does it happen that one has to suddenly pause knitting & attend to some other life matters ? While I prefer to complete the row & then pause, it is not always possible. Sometimes one has to leave knitting mid-way through a row. In such cases, markers are of tremendous help – simply complete knitting the few stitches upto the next marker (i.e. complete the segment only, instead of entire row) & attend to the call. It is then so easy to re-start without having to use precious brain cells trying to figure out where to start …. This is especially true of lacy patterns.

7. When Decreasing or Shaping :

Dropping or decreasing stitches is called for while shaping the armholes, neck, etc. So, just as markers prove to be good guides while increasing, these can be equally helpful while decreasing. In case of lacy patterns, one can adjust the decrease based on markers, keeping the pattern as evenly shaped as possible.

TIP : Shaping is required while knitting Socks, too. Markers can come in handy when increases and decreases are made.


8. When Knitting in the Round :

When one is knitting in the round, with circular needles or open needles, a marker is vital to indicate the start of the row.


In conlusion, markers help to calculate stitches in casting on, in calculating stitches & placement for shaping (I like visual cues), keep track of knitting pattern & minimize errors.
Markers can “arrest” an error before you have gone too far down the row or knit too many rows !!! Usually, the very next segment or the very next row will not knit correctly & one can count the stitches between each marker to see where the error was committed. So immediate rectification can be done, thus saving a lot of time, unraveling, re-knitting, & heartburn ;-))

⌠۷۷۷۷۷۷۷۷۷۷⌠۷۷۷۷۷۷۷۷۷۷⌠۷۷۷۷۷۷۷۷۷۷⌠۷۷۷۷۷۷۷۷۷۷⌠

About Homemade Slip Knot Markers

How to choose.
I do not have any store-bought markers. Instead I simply use scraps of wool or thread.
But I learned the hard way & hence am sharing a few do’s/don’ts in choosing yarn for markers :
Choose yarn that
i)                    does not fray & hence lasts through the entire project
ii)                   is thinner than the main yarn/wool
iii)                 is a tightly wound/twisted yarn, not loosely twisted, hence easy to slip
iv)                 is in a contrast colour to the main yarn, to be easily visible
I have found crochet mercer thread to be Ideal. It does not fray easily, is thick enough to be clearly visible (unlike sewing thread), yet not so thick as to leave a space between stitches. It is also something that can be found in the home itself.

How to make.
Take a short length of thread & tie a slip knot. This is nothing new to those who crochet & knit - one has to start with a slip knot. If not, click on the highlighted term or here for many tutorial links on Google. 

If desired, one can make a permanent solid, immovable knot. I prefer slip knot because the loop size can be easily altered & adjusted whenever desired, by simply pulling on one loose end. Hence, these markers can be used on any size needle !
Secondly, if at any point I want to remove a marker midways, all I have to do is pull on the loop & the knot opens up completely & the thread can be slipped off anywhere, anytime ! No need to cut with scissors & risk cutting the yarn.

Make many such markers beforehand, so that while you are occupied with your knitting needles, all you have to do is pick up one of these already-made markers & slip it on the needle.
Since it is a slip knot, it can be tightened as much as desired. However, it is preferable to keep it slightly loose so that switching it between needles becomes easy.

While one is knitting, these markers are not knit. They are simply slipped on to the other needle.

⌠۷۷۷۷۷۷۷۷۷۷⌠۷۷۷۷۷۷۷۷۷۷⌠۷۷۷۷۷۷۷۷۷۷⌠۷۷۷۷۷۷۷۷۷۷⌠

What has been your experience ? Please share ….

Happy knitting :-)


Saturday, 1 March 2014

Muskaan's Knit Top 2014

Pin It now!
My Knit Top 2014

Bored of the same old Rib Borders ?!
Wish to try some Patterned border for neck & arms ?
Read on …

Finally !!! My lone knit project for 2013-14 winter season is finally over ! This was a truly lean season as far as knitting went. And tatting is to blame ;-)) Anyways, with this project out of the way, & winters just on the verge of ending, I can take up tatting full-time, without any guilt !

I created this design as a combination of 2 different patterns that kept alternating in strips :
Broad strip : Pattern Chart #192 from The New Knitting Stitch Library by Lesley Stanfield
( 23 stitch & 6 row repeat )
Narrow strip : Pucker Cable stitch  ( 5+3 stitch & 4 row repeat )

Yarn : Vardhman Little Angel (baby wool)
White : Shade # LAL065
Blue : Shade # LAB026

Needles :
UK #12 for waist border (rib stitch) 
UK #10 for main body And neck & arm borders.

I tried out some new techniques which I’m listing for all my future projects since one cannot rely fully on one’s memory ;-))

1. Slip Stitch at beginning of Each Row.
I’d always had trouble imagining How one could keep slipping a stitch Without knitting it. But, this time, I gave it a go & boy was I amazed & hooked at the result !
Loved the smooth, even, neat edge that this created !
And so very easy to sew the panels together because each stitch is distinct.
Invaluable for knit blankets, etc. even if one does not want a separate edging… If only I’d known then !

2. Hiding the yarn ends.
This time I tried out a new method for hiding the tails. I can’t find the exact source (will add link when I come across it again). Instead of going in a U formation through stitches from the back, I sewed the tail, in sinusoidal fashion, along each half of a knit stitch – for a distance of 1-2 inches.
This technique is especially useful for Lacy patterns such as this where there are spaces in between.

3. Pattern Borders for Neck & Arms.
As the main knitting came to an end, I couldn’t bring myself to add the usual Rib stitch borders to neck & arms. Instead I tried something new by using the Pucker Cable stitch pattern as border.
I added 1 more stitch, thus casting on 9 stitches instead of 8. This extra stitch served as a smooth straight & even outer edging (selvedge?). Again, 1st stitch of each row was slipped.
After trying out the patterned border with both #12 & #10 needles, I decided to go along with the latter & adjust the tension while sewing.

TIP : The extra stitch for selvedge needs to be on Opposite sides for respective arms : On the right/starting end for right arm border & on the left/last end for the left arm border.


4. Separate Strips for Neck & Arms.
I have always picked up stitches (or included the ones left on holders) along the neck & arm line. This time, since I went in for the patterned border, I had to knit each strip separately to required length & then sew them on to the sweater edge.
I used just the slightest bit of tension while sewing the strips since these were also knit with #10 needles as the rest of the sweater.
Since I wasn’t very sure of the exact length ( I’m Always bungling there ), I began sewing Before the strip reached it’s final length, so that I had enough play to add the rows required before casting off.


5. Color Coordinated Border for Arms.
I doubt an all white strip would’ve looked good with the blue part at lower ends of each arm. Using an all-blue strip would’ve been nice for a younger person. But at my age, I wanted a bit more staidness ;-). Hence I had to make the arm strips using Both colors along the respective lengths.


One thing I did Not do, which I should have :
Mitered Corners for the Square Neck !
I was in too much of a hurry to just complete this project – it has been a WIP almost the entire season. So, not having done a mitered corner ever before, And having to deal with a pattern to boot, I developed cold feet at the prospect of learning & applying mitering to the neckline border strip.
I settled for ‘mitering’ while sewing on the strip ! It obviously added a triangular bulk inside, but who’s gonna see ;-)))

Task for next season : Learn to miter the corners, especially as my next project is going to be Quilt/Afghan #4 !!!


Just one last point. The use of 2 colors brought out the natural waviness of the pattern, creating a sinusoidal yoke naturally , instead of a boring old straight yoke.  Here is another picture of the full blouse (yes, I wear it with a sari !) - the back view.

My Knit top/blouse 2014

The New Knitting Stitch Library by Lesley Stanfield 

My favorite go-to book for knitting patterns !
There are over 250 Charted patterns, categorized into knit & purl, Cables, Laces, etc. etc. 


Adieu to knitting till next winter :-)