My Knit Top 2014
Bored of the same old Rib Borders
?!
Wish to try some Patterned border
for neck & arms ?
Read on …
Finally !!! My lone knit
project for 2013-14 winter season is finally over ! This was a truly lean
season as far as knitting went. And tatting is to blame ;-)) Anyways, with this
project out of the way, & winters just on the verge of ending, I can take
up tatting full-time, without any guilt !
I created this design as a
combination of 2 different patterns that kept alternating in strips :
Broad strip : Pattern
Chart #192 from The New Knitting Stitch Library by
Lesley Stanfield
( 23 stitch & 6 row repeat )
Yarn : Vardhman Little Angel (baby wool)
White : Shade # LAL065
Blue : Shade # LAB026
Needles :
UK #12 for waist
border (rib stitch)
UK #10 for main body
And neck & arm borders.
I tried out some new techniques which I’m listing for all my future
projects since one cannot rely fully on one’s memory ;-))
1. Slip Stitch at beginning of Each Row.
I’d always had trouble imagining How one could keep slipping a stitch
Without knitting it. But, this time, I gave it a go & boy was I amazed
& hooked at the result !
Loved the smooth, even, neat edge that this created !
And so very easy to sew the panels together because each stitch is
distinct.
Invaluable for knit blankets, etc. even if one does not want a separate
edging… If only I’d known then !
2. Hiding the yarn ends.
This time I tried out a new method for hiding the tails. I can’t find
the exact source (will add link when I come across it again). Instead of going
in a U formation through stitches from the back, I sewed the tail, in
sinusoidal fashion, along each half of a knit stitch – for a distance of 1-2
inches.
This technique is especially useful for Lacy patterns such as this where
there are spaces in between.
3. Pattern Borders for Neck & Arms.
As the main knitting came to an end, I couldn’t bring myself to add the
usual Rib stitch borders to neck & arms. Instead I tried something new by
using the Pucker Cable stitch pattern as border.
I added 1 more stitch, thus casting on 9 stitches instead of 8. This
extra stitch served as a smooth straight & even outer edging (selvedge?).
Again, 1st stitch of each row was slipped.
After trying out the patterned border with both #12 & #10 needles, I
decided to go along with the latter & adjust the tension while sewing.
TIP : The extra stitch
for selvedge needs to be on Opposite sides for respective arms : On the
right/starting end for right arm border & on the left/last end for the left
arm border.
4. Separate Strips for Neck & Arms.
I have always picked up stitches (or included the ones left on holders)
along the neck & arm line. This time, since I went in for the patterned
border, I had to knit each strip separately to required length & then sew
them on to the sweater edge.
I used just the slightest bit of tension while sewing the strips since
these were also knit with #10 needles as the rest of the sweater.
Since I wasn’t very sure of the exact length ( I’m Always bungling there
), I began sewing Before the strip reached it’s final length, so that I had
enough play to add the rows required before casting off.
5. Color Coordinated Border for Arms.
I doubt an all white strip would’ve looked good with the blue part at
lower ends of each arm. Using an all-blue strip would’ve been nice for a
younger person. But at my age, I wanted a bit more staidness ;-). Hence I had
to make the arm strips using Both colors along the respective lengths.
One thing I did Not do, which I should have :
Mitered Corners for the Square Neck !
I was in too much of a hurry to just complete this project – it has been
a WIP almost the entire season. So, not having done a mitered corner ever
before, And having to deal with a pattern to boot, I developed cold feet at the
prospect of learning & applying mitering to the neckline border strip.
I settled for ‘mitering’ while sewing on the strip ! It obviously added
a triangular bulk inside, but who’s gonna see ;-)))
Task for next season : Learn to miter the corners, especially as my next
project is going to be Quilt/Afghan #4 !!!
Just one last point. The use of 2 colors brought out the natural
waviness of the pattern, creating a sinusoidal yoke naturally , instead of a
boring old straight yoke. Here is another picture of the full blouse (yes, I wear it with a sari !) - the back view.
 |
| My Knit top/blouse 2014 |
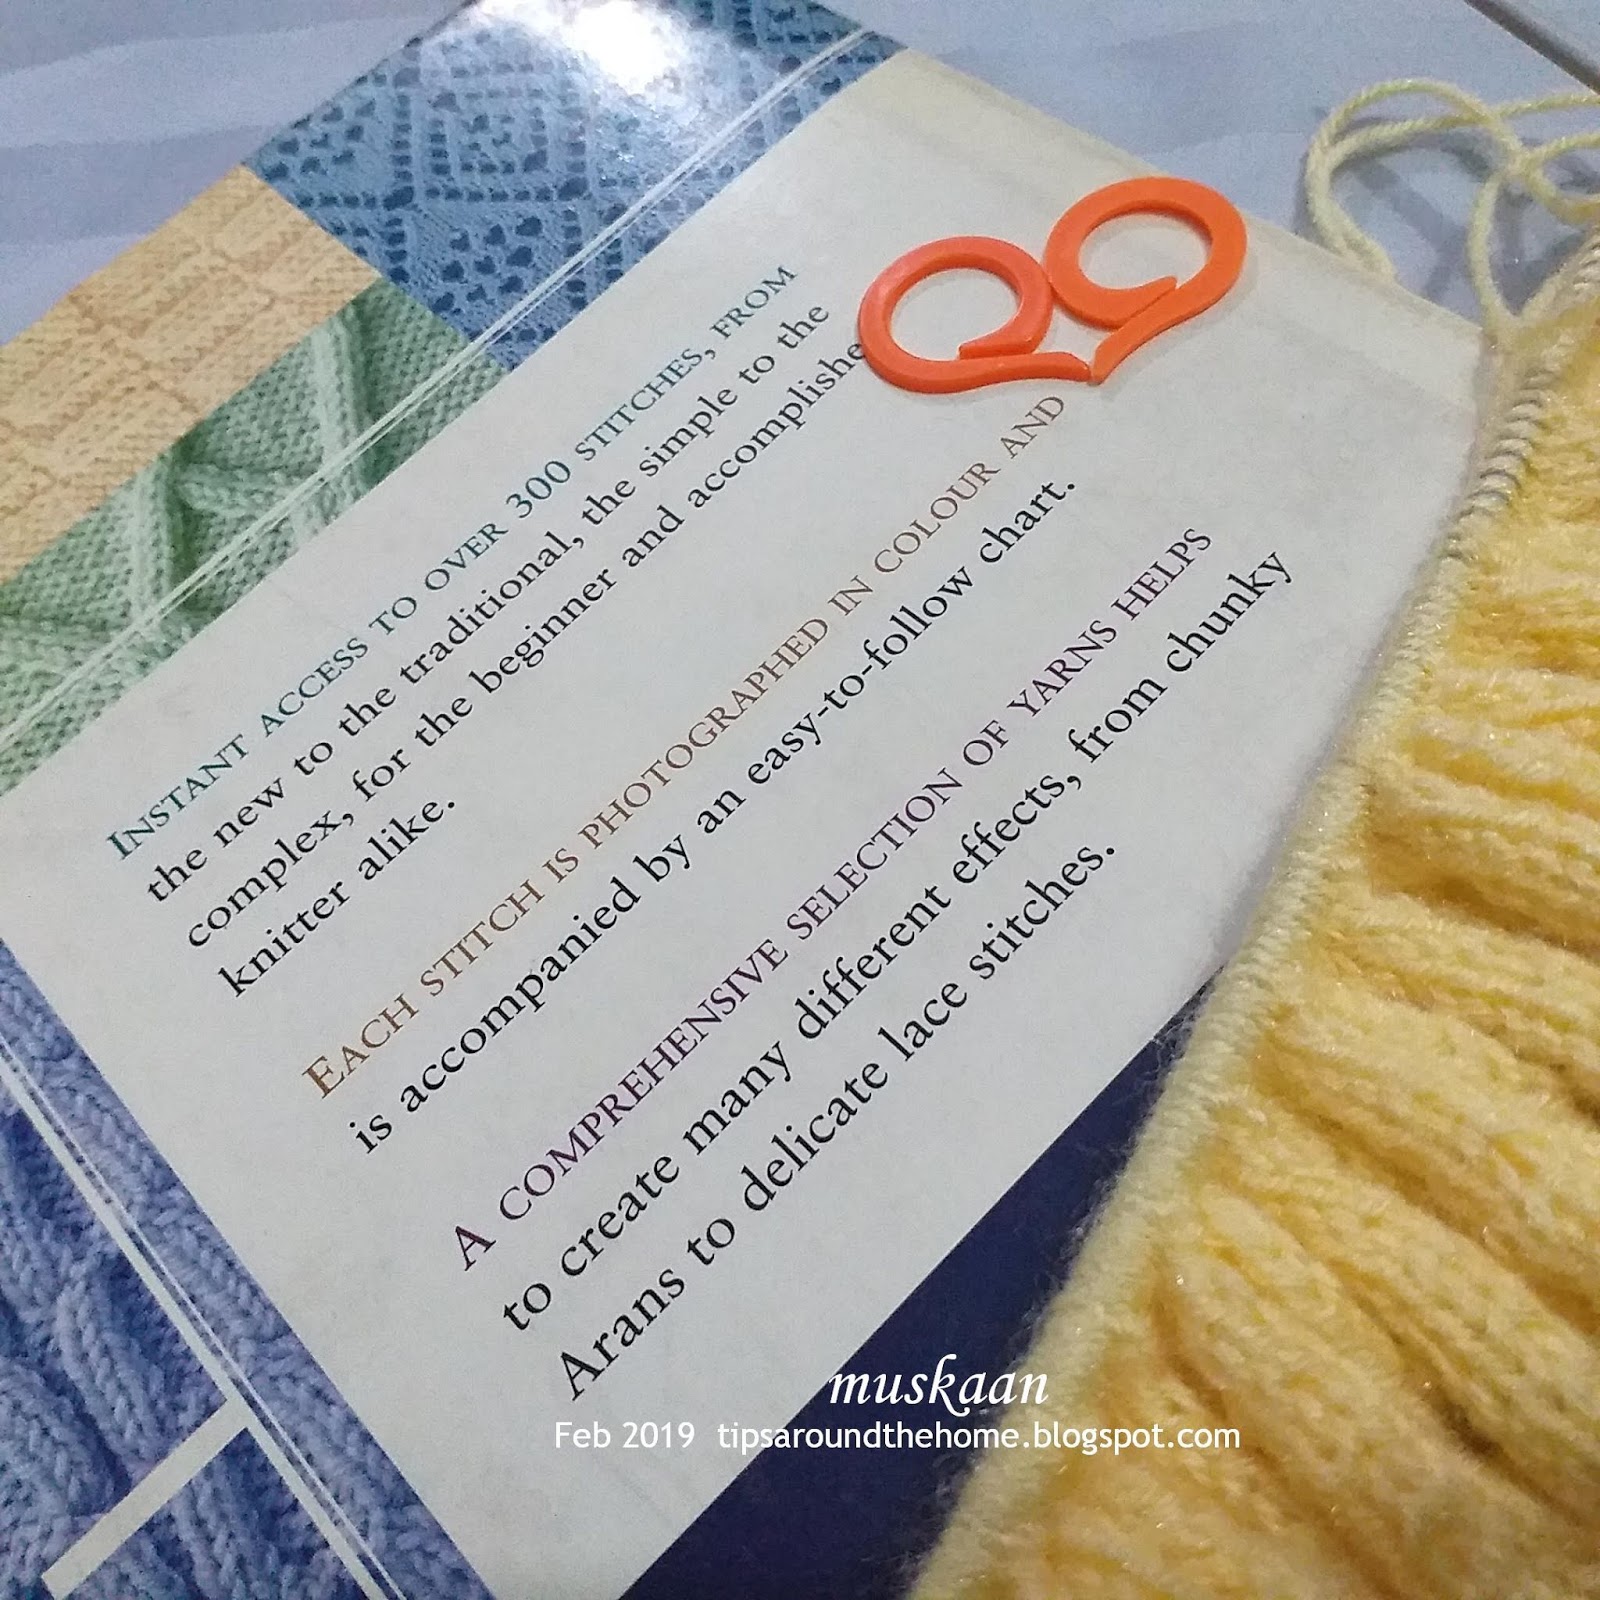
The New Knitting Stitch Library by Lesley Stanfield
My favorite go-to book for knitting patterns !
There are over 250 Charted patterns, categorized into knit & purl, Cables, Laces, etc. etc.
Adieu to knitting till next winter :-)