Showing posts with label picot join to the right. Show all posts

Tuesday, 20 April 2021

unmasked

Pin It now!

 Finally, after 3 years, when masking is almost a given globally, Alibaba has decided to unmask 5 of the 40 thieves. Dare he expose them to the pandemic without they being vaccinated? Is he cruel or is he testing their bravado? Only time will tell.

For now, whichever hemisphere you are in, let's enjoy the all-weather blooms, with these quick single shuttle sprays that can be used for appliqué, cards, tags, decorations, and so much more. 

Techniques : rosette ; picot join to the right ; luggage tag loop or larks head knot ; lock join.
All worked in Lizbeth size 20 threads (Sunkist mix) with a single shuttle.

Blossoms Motif #31  
2½ x 1½" 
  

Blossoms Motif #32 
<2½ × <1½"
 
Some joins are made between a ring segment. It helps to control the curvature of the spray besides being more stable.
 
Blossoms Motif #33 
2½ × 1¼"
 

Blossoms Motif #34 
> 2 × > 1½”

Blossoms Motif #35 
> 1¼ ×  1"

As with previous motifs, these can be arranged together in various formations to create new shapes and larger designs. I will share these after the last of the thieves are nabbed! So keep an eye out....who knows there might even be more than 40?

stay masked even if Alibaba comes calling! 😁

All Blossoms Motifs patterns are being listed under Nature 2D.


Friday, 4 December 2020

picot join to right part 4

Pin It now!

I haven’t picked up my shuttles in a long time despite spending all my free time in tatting-related activities and interaction. And I’ve been neglecting my blog, too – can’t let that happen!

Well over a week back, this is what I made quickly for an experienced friend.  She, too, like I, avoids the folded join when making a picot join to the right. I prefer to rotate the work slightly on my hand, repositioning the picot on the right such that it now comes to the left, and then execute the join normally. These are my detailed pictorials and article on the topic -

http://www.tipsaroundthehome.blogspot.com2016/03/demystifying-joins.html - about picot join
https://tipsaroundthehome.blogspot.com/2018/09/picot-join-to-right-part1.html - outward facing rigs
https://tipsaroundthehome.blogspot.com/2018/09/picot-join-to-right-part-2.html - chains and down join
https://tipsaroundthehome.blogspot.com/2018/10/picot-join-to-right-part-3.html - where we need this join.

What I did not explicitly show in Part 2 was what happens when all rings face inwards. She was under the impression that 'with inward facing rings no such rotation is required to execute the final join  since we are working counterclockwise'. Visuals are better than words, hence …

Picot Join to the Right – Part 4 

(joining last inward facing ring to the first using Rotate Work)

The following motif comprises single inward facing rings (4-4-4) separated by bare thread and joined to each in the round. 
 
1. 6 rings have been worked and the last, 7th ring is started. It needs to be joined to Ring. 6, so pull up a loop through the picot of previous ring. This picot is to the left of current work and we perform the action almost on autopilot, without any extra movement.

2. The same as #1, but laid flat to see clearly, The knotting thread is pulled through picot. Note- this can be pulled down for frontside tatting.

3. Now comes the point at which Ring7 is to be joined to Ring1. 
Where is this joining picot in relation to this last ring? It is to the Right. Try making the join without shifting the motif. 
4. Hence some form of picot join to the right is needed - be it a folded join, or a simple rotation, or whatever you are comfortable with.

5. Since we are avoiding the folded join, notice the slight counterclockwise rotation of motif while still in hand, to reach the picot. The movement is so subtle, that it goes unnoticed, unlike in a rosette with outward facing rings (Part 1
My own theory is that we need to rotate more when rings face outward, hence it is immediately noticed.

6. Loop pulled up through picot and shuttle being passed through it.

7. Join made and ring closed.

8. Motif complete. Tail ends hidden.

The principle to remember is this (TWoT Notes): Whether overall work (motif or lace) progresses clockwise or counterclockwise, whether we are working on the front or the back, the current element - Ring - is Always worked clockwise*, and Chain is Always worked from left to right. Hence when joining in a circle (last to first), whether the rings or chains face inward or outward, the joining picot on the first element will be to the right of current element, and a Picot Join to the Right will be needed.

*The only exception that comes to mind is a Reverse Ring where stitches are being added counterclockwise. 

UPDATE: A tatter graciously shared her feedback after trying it - this method works well in needle tatting as well!

Practice Patterns : 
For further practice, try this R1:4-2-4-2-4. bare thread. R2:4+2+4-2-4. and so on ... where each ring is joined to the previous ring through Two picots on each side. The last ring will need to be joined to the first 2 picots on Ring1.

Also consider inward facing trefoils or clovers instead of single rings. 
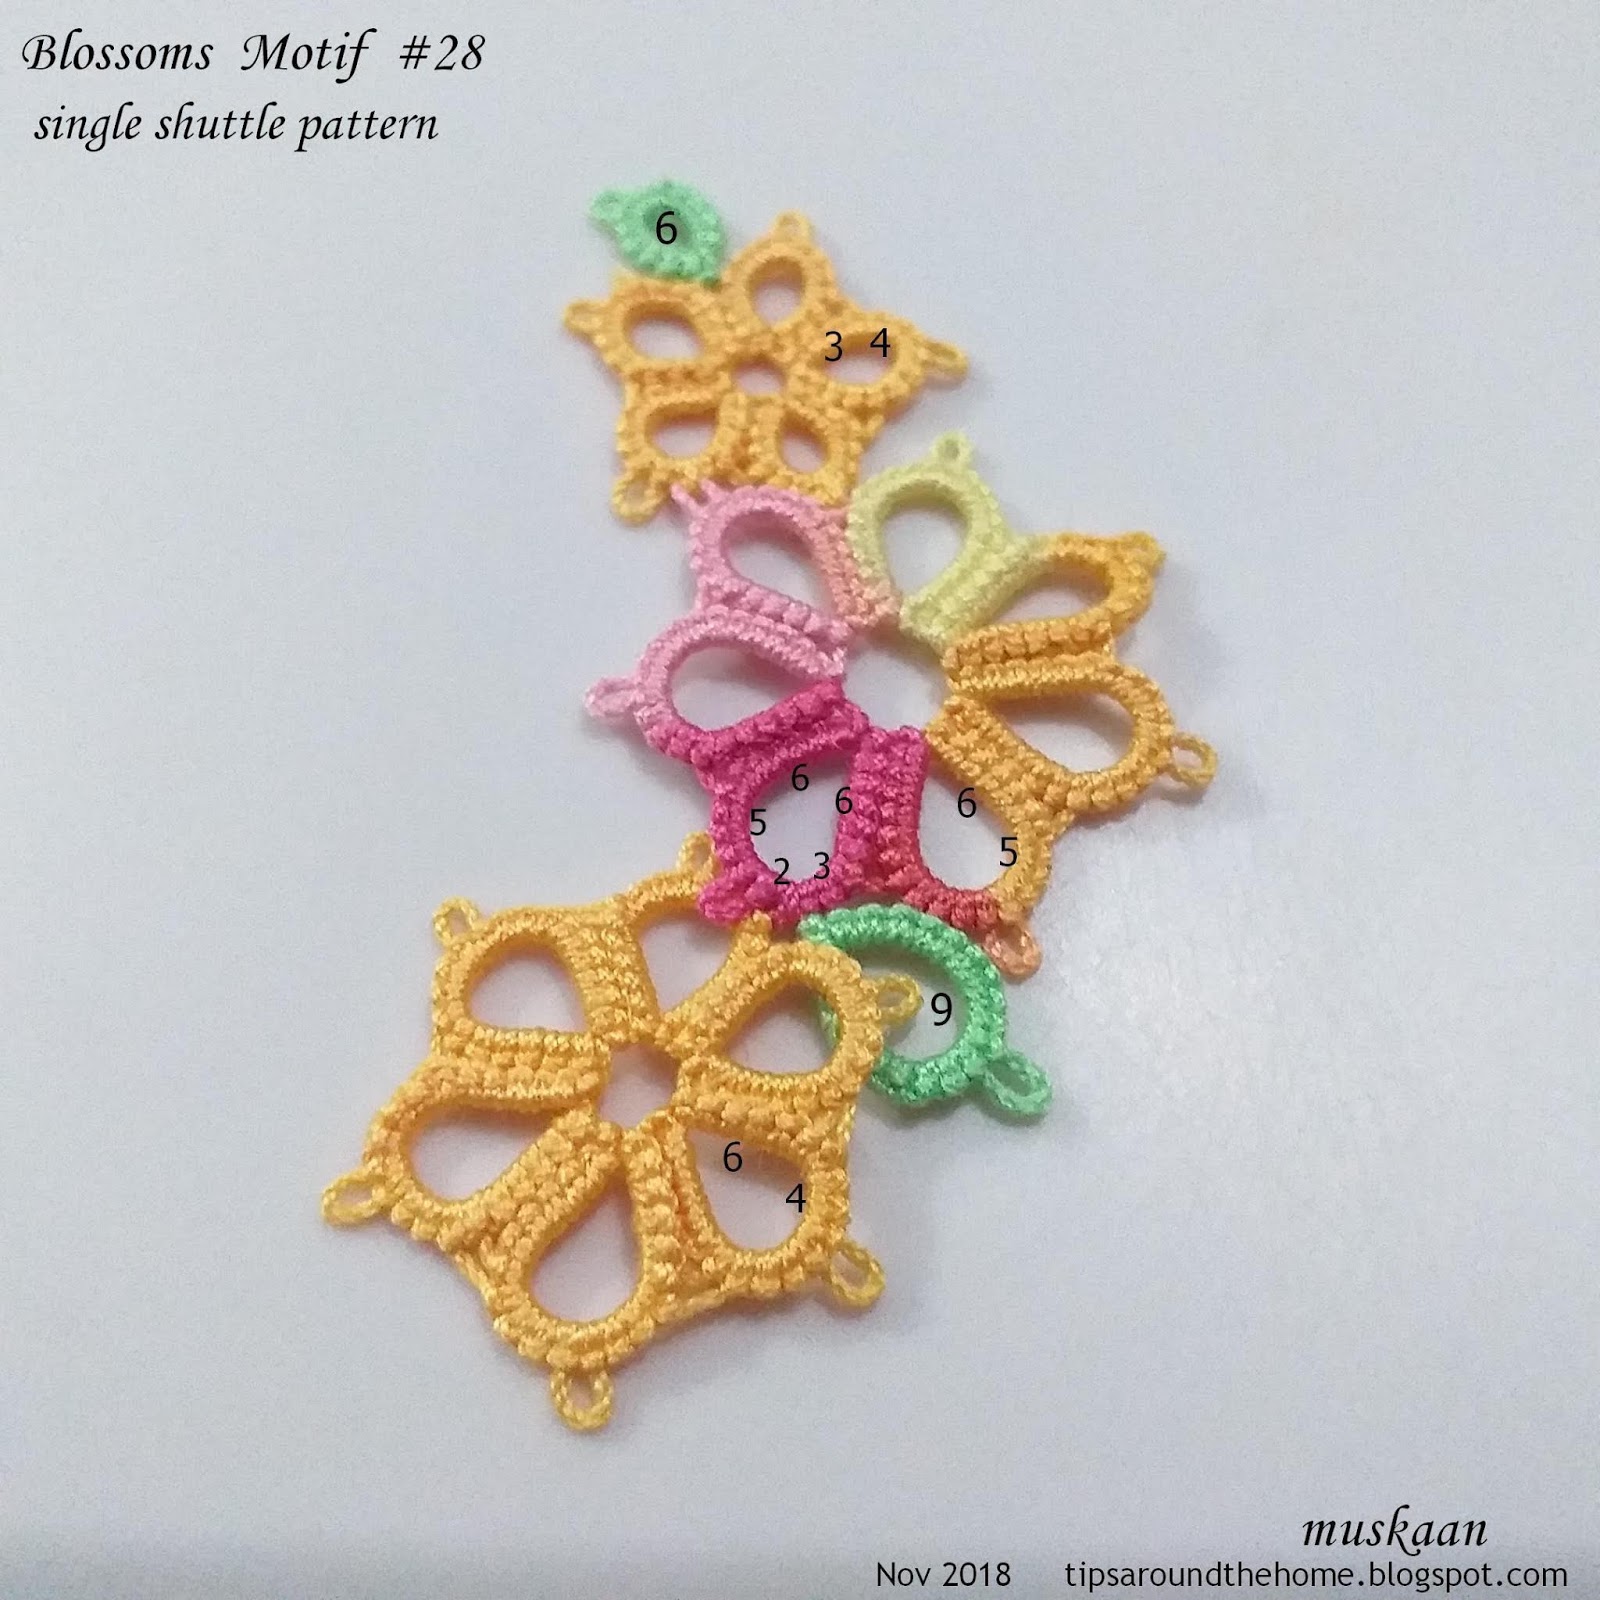
eg. this Clover Wreath Poinsettia is good practice for the picot join to right. It has both inward facing clovers as well as outward facing thrown rings that need to be joined in a circle.

Thursday, 18 July 2019

magic revealed

Pin It now!
magic revealed
Snowflake #5 in Land of Laces25 Snowflake Project !

MatheMagical Star

It’s a simple case of counting – in decreasing order, then in increasing order. This forms the 2 sides of an arm, tipped with a clover, and an additional ring at the base, between each arm. The base ring is of same size as the one with which the arm starts/ends. Clover has same sized side rings as the ones we end the count with, with a larger central ring.
All rings are bilaterally symmetrical, hence I remember them as a 9 ring or 5 ring, etc. instead of an 18 (9+9) or a 10 (5+5) ring.
Thus in the large 9to4 version, I go up an arm with
base 9,
arm up 9,8,7,6,5,4,
clover 4,7,4
arm down 4,5,6,7,8,9,
repeat.
Easy to keep track!
Each pair of sequential rings is separated by a chain. Each segment of chain (separated by a picot) has the same count as the ring adjacent to it.
Perhaps all this text has you confused. If so, simply click on the pdf and read/see for yourself, where I have shared counts for 4 versions, and you should get an idea of the possibilities and tweaks you can make yourself.

I must thank all the enthusiastic responses to my query – here and on facebook, including some valuable suggestions, which have hopefully been incorporated in the presentation with some success. However, if there is any difficulty, please don’t hesitate to ask. It wasn’t an easy presentation, sigh.

  1. Keep all picots normal sized.
  2. It is a pretty forgiving and versatile pattern and all versions lay flat.
  3. While working the ring pairs, avoid gapsosis. This pattern provides good practice!  
  4. Fill up the main shuttle to capacity, since the large version consumes a lot of thread. I use Pony bobbin shuttles which are relatively smaller sized.
  5. 2 shuttles are required only if one is tatting the filled-in version. There are options one can use to still work with ball instead of 2nd shuttle, but I prefer the 2nd shuttle look.
  6. Since the star joins back to the start, picot join to the right is required.
 
I’ve included instructions for all 4 of these versions – large (9 to 4), medium (7 to 4), & small (5 to 2) ; open- & filled centers. Yet there is so much one can play around with! 

  Enjoy :-)

UPDATE: Using this star to decorate a bauble/tree ornamenthttps://tipsaroundthehome.blogspot.com/2021/01/wrapped-in-star.html
The same formula/algorithm is used for a tree and 2D & 3D bell patterns. Find the patterns here 

Tuesday, 20 November 2018

honeytrapped !!!

Pin It now!
Blossoms motifs 21-30

Who said the thieves were fools?! They were old hands at remaining free and unfettered (that's how they amassed that vast treasure stashed in the cave!*)! So, when 20 of their mates went missing – some wound tight, some cornered, roped in, corralled, split down the middle, and what not - they got into a consultative huddle to chart their future course of action. Most importantly how to avoid detection. By now they had realised that moving alone or in small groups made them easy targets. Henceforth they would move en bloc; split into 2 groups of 10 each seemed a safe bet to overcome their unseen enemy, Alibaba.

But our Alibaba was smarter by far and changed his MO (modus operandi), He laid a sweet honey-trap. Who can resist a ‘sweetmeat’ ;-P  He put forward his clever and resourceful slave girl, Marĵanah (Morgĩana in some online versions, pronounced Marjiinaa) who enticed and lured the entire group of 10 thieves to partake of the very many tasty candies till they doubled up in pain arising from decaying teeth! Who can think of anything else with a bad case of toothache, and were easily rounded up.
How cheeky of Alibaba – Was he being unethical and unfair in compromising their long-term oral health? Sadly, all’s fair in love and war.

So parading here are the captured blossoms motifs from 21 to 30, with their stitch count inked in respective images.

Techniques : rosette ; picot join to the right ; luggage tag loop or larks head knot ; lock join.
All worked in Lizbeth size 20 threads with a single shuttle.

Blossoms Motif #21
>2” X 1½”

Blossoms Motif #22
2½” X 1¼”
  
Blossoms Motif #23
2” X 1½”

Blossoms Motif #24
2” X 1½”

Blossoms Motif #25
<2” X 1¼”

Blossoms Motif #26
2¼” × 1¼”
This motif works well as an asymmetrical or freestyle corner motif.

Blossoms Motif #27
2¼” X 1¼”

Blossoms Motif #28
2¼” X 1¼”

Blossoms Motif #29
~2½” X 1¼”

Blossoms Motif #30
2¾” X 1½”

Spiraling out of control, lured by the sweetmeats!!! There's a lesson in this, isn't there! Enjoy festivities but control sweet temptations ;-P
A Blossoms spinning wheel mat ????

How will the last remaining group of 10 save themselves now? Wait for it - they may go underground or go digital ..... 

*Alibaba and the Forty Thieves from One Thousand Nights and One Nights aka Arabian Nights 


Sunday, 4 November 2018

split down the middle

Pin It now!
........ err, not the body, but the numbers!

Of the 40 thieves Alibaba is supposed to nab, he’s reached the halfway mark of 20. Now, due to a change of heart, this has become the body of the elephant and only the tail is left – the 20 that are remaining form a puny mass. But I’m not telling now – you’ll just have to come back to see the tail, and probably the entire elephant!

Here is how the latest 5 bodies look laid out in 4 different directions ! (click here for a 'mugshot' of all 20)  
Blossoms Motifs 16-20
  
Following are the pattern notations for these 5 motifs. 
All worked in Lizbeth size 20 with single shuttle.
Techniques
rosette ; picot join to the right ; luggage tag loop or larks head knot ; lock join.

Blossoms Motif #16
2½"× 1¼"

Since these are all ‘prototypes’, I sometimes found it difficult to attach the next rosette at a particular point, since there was no picot on the earlier rosette. I countered that by linking current floret somewhere along the line, keeping the overall stitchcount intact. 
I have given the count for that particular petal/ring in the image.

Blossoms Motif #17
> 2¼" × 1½"

Blossoms Motif #18
<2" × 1½"


Blossoms Motif #19
> 2" × 1¼"


Blossoms Motif #20
1¾" × > 1¼"

Oh, and all shuttles emptied for a 2nd time as the last motif was being completed. 

Blossoms Yin-Yang Bracelet/pendant #2 (idea)
Motifs 16 & 17 can create a nicely niched yin-yang bracelet. 

Blossoms Wreath/Garland #5
‘Tis the season for wreaths! 
 All 5 motifs arranged to form a medium to large wreath or garland.

Blossoms Wreath/Garland #6
 A smaller one, perhaps for a card or as a tree ornament, with only motifs 18 & 19.

More garlands/wreaths : Small (#1 & #2) Large (#3)Medium (#4) .


Tatting is happiness personified in all seasons! J