FINALLY! What many have been waiting for - the patterns of models that were sent in by our designer participants - all compiled in this master doc with individual PDF links! PLEASE GIVE CREDIT TO THE DESIGNERS ALONG WITH THE NAME OF THE CHALLENGE, ETC., whenever you post a pic of their pattern and DO NOT SELL ANY PATTERN from this collection!
Designing takes various paths from letting the shuttles take their course to meticulous real-sized diagrams where the lace then takes shape, and everything in between or a combination! Over the years I have used several methods and am still learning. Sharing a few 'tips' I think this design-along threw up from the comments or private conversations with participants and my own observations. The categorisation below is merely to highlight and for ease of reading because there can be a lot of overlap between them. In no particular order ...
 |
| A representation of design ideas, variations and possibilities by one tatter/designer! |
1. Colours & Placement. Choice of colours can make a huge difference in process as well as product. eg., Continuous tatting is easier when using a single colour.
- Carolyn Craig uses white to tat her prototype. She says that colour distracts from the design. Once she is satisfied with the design, she uses colour.
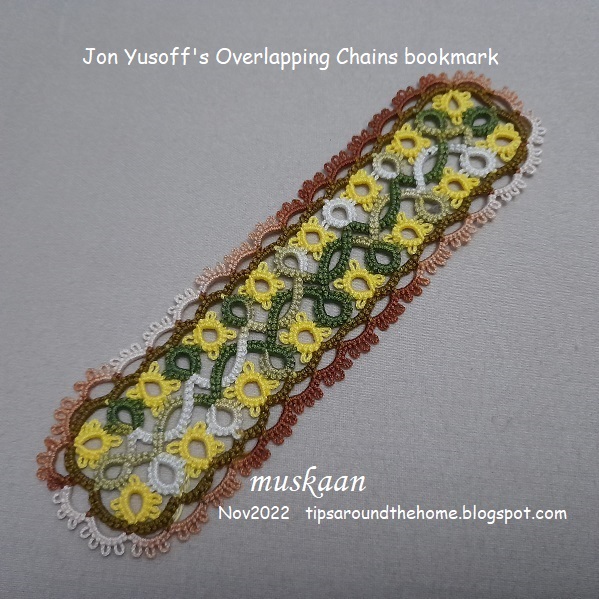
- For her 2nd version, Jon Yusoff used whatever thread was on her shuttles, which happened to be variegated. She preferred a solid colour for the final tat. Ninetta wasn't happy with her variegated choice either though she enjoyed the entire process.
- Colours can transform any design by highlighting certain aspects and lines. Wanda's 1st version, Jagruti's flower effect, Linda's popular mat, Marie-Helene's 3-colour motif, and Silvana's mandala effect are but a few such. And it was also interesting to see how Donna used only black, white, blue, and ecru to create her 8 versions (pic above)!
2. Negative Space. Jon also says - "Lately I have been focusing on white spaces (or negative space) in my designs. I feel that they bring out a design just as much as the outline of rings and chains." It will be a good exercise to study all the models in this collection from that perspective.
3. Proliferation. This has taken several forms - some participants designed multiple rounds around the starter motif while others belted out multiple versions! Both are awe-inspiring! Margaret's design is such that the same formulation can be applied to as many rounds as one wants to add!!! Several motifs can be tiled into a larger fabric as Linda displayed!- Two French participants sent in their patterns in French. I was struck by their presentation. They call it a Technique/Technical Page, without any images, but tons of details walking you through the pattern and process. I have shared both the French as well as the English versions. The latter is mostly in sync with our usual format and the one I have been following for all the other presentations this time.
- Donna sent in typed instructions for each of her versions. Some sent in diagrams (hand-drawn or using some program). I decided to systematise all in a largely common format which included the written short notation pattern and the inked sequence. a couple patterns were already very professionally done and all I had to do is review them.
- Most patterns can be worked continuously without cutting threads after each round. Again. as a least common denominator and for widespread reach, the rounds have been presented as separate rounds attaching to the previous rounds. Ditto with directional or frontside/backside tatting. Both these processes can easily be adopted by experienced tatters using a bit of pre-planning. In my own version, though, I have indicated specifically how to climb out of each round.