Showing posts with label wide picot. Show all posts

Wednesday, 5 March 2025

update with video

Pin It now!
There are frequent requests for videos instead of a pictorial or a schematic to showcase a technique or even a pattern. A sign of changing times which is fine by me except that videography is not my preferred method. I have watched several of Karen's videos over the years and learned from them. Yet I prefer the stepwise layout whether in a blog or printed so that I can try at my own pace; study each step and position of thread minutely when required; and I don't need to rewind back and forth. Refreshing my memory is also easier with pictorials and diagrams coz I can easily skip steps and focus on what I need. Personal preferences, no judgment. 

Anyways, in one of the FB tatting groups, a tatter bought Rebecca Jones'  1985 book, 'The Complete Book of Tatting' after I shared my direct method tatting post here -https://tipsaroundthehome.blogspot.com/2025/02/direct-method-tatting.html . She could figure out the first step of how to start a ring or chain with a lark's head knot. However, she had trouble with how to continue with the half-stitches. I decided to make a quick video for her eyes only. But I think it isn't too bad and would perhaps be of help to others, too. 

So here is the direct link to the video - Rebecca Jones' Direct Method Tatting: 
https://drive.google.com/file/d/1bsXzAGaSacKqw06CC3Uq24ImB2t6-sUA/view

I have tatted 3 double stitches in a ring in this demo. Hope it helps. Please excuse my clumsiness and background. Like I said, videography is not my go-to format, and I shot this in one go ;-D

Comparison - 
What I later realised is that this in one of two ways to make a lark's head picot join (LHPJ) or lark's head join (LHJ)! Watch Karen Cabrera's Lesson #101 - Lark's Head Join.

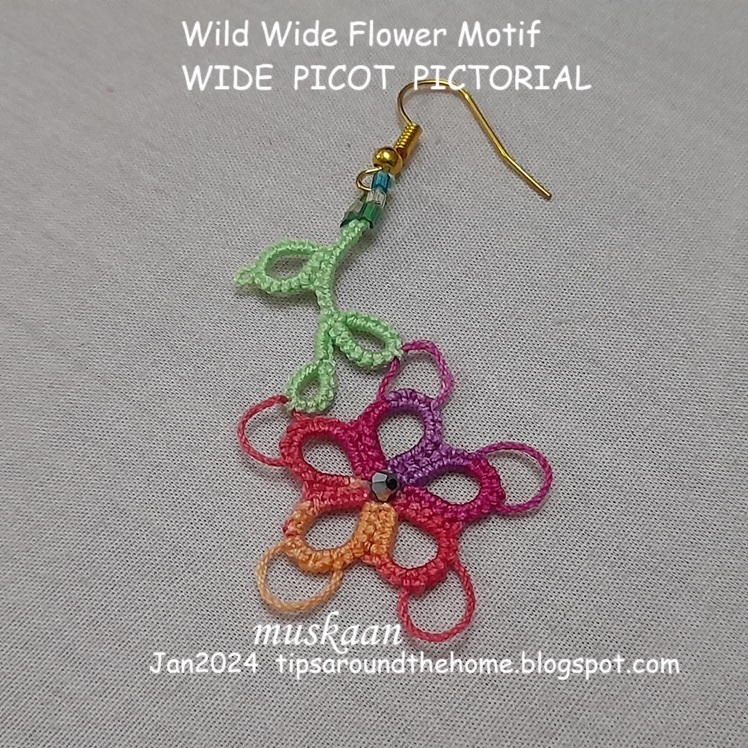
And now I remembered that Ninetta Caruso uses the 1st half-stitch movement while tatting the wide picot! Her video - https://drive.google.com/file/d/1XsqlFZHcVpopvRFBhTgR6_oQWqf98Bw7/view  and my pdf and post here - https://tipsaroundthehome.blogspot.com/2024/02/going-wide.html .

Love to find connections! Happy tatting! 

Tuesday, 6 February 2024

going wide

Pin It now!

 Remember when I posted the E37 flower flake and star and was not very happy with my wide picot? I couldn't always get the stitches under/within the picot to stay consistent and neat. So, I explored some more which I should've done at the beginning, having the links in my Tatting Resources page already! Well, my oversight gave me a chance to study it better.

Download my pdf of Wide Picot Pictorial here https://drive.google.com/file/d/1Ejb7tVOk15VQHV0omhUt-HIb1CzYAI7I/view 

All tuts I referred to had the wide picot on a ring. This means there is the ring loop besides the loop(s) for the picot, etc. Unnecessary confusion. I decided to do the steps on a chain where I could employ two colours.

This is the main step that differs in different online tutorials. As always, we have options to choose from and see what works best for us.
In all tuts, the wide picot is encapsulated only in the 1st half-stitch while the 2nd half-stitch is worked normally.

The oldest tutorial I found was by Dan Rausch (tatmeister, 2003)http://pages.suddenlink.net/tatmeister/widepicot.html?  However I found it difficult to follow his written instructions, oops.
Now this was a technique that Georgia loved to ask every new batch in her online classes.
Shannon (mytattingplace, 2011) had uploaded a video based on her understanding of Dan's technique and it is so clear to follow - https://www.youtube.com/watch?v=qONlAylfXIQ

In this method (above pic), one needs to hold the loop on the left hand and make the 1st hs on this loop.

This is a little rosette I made using the wide picot and am fairly happy. Lizbeth size 20 used.
One can make smaller picots inside the wide picot, too. A floating Josephine ring would look good too! See Claudia's pictorial linked below.
 
Added leaves and stem in order to show that the picot in not merely decorative, but functional as well.

Added beads and findings for an earring.
TIP: After making the number of stitches encapsulating/within the wide picot, it is good practice to tug on the picot to remove any slack.

One can add pre-strung beads on the wide picot, too, but I don't see the point. I would much rather make a double picot, loading beads at the time of joining.  

When I showed Ninetta Caruso my pictorial, she shared her own method which involves simply twisting the loop for 1st half-stitch once before inserting the shuttle and snugging. She even made a video to demonstrate it - https://drive.google.com/file/d/1XsqlFZHcVpopvRFBhTgR6_oQWqf98Bw7/view

For the E37 flake I had used Karen Cabrera's Lesson #34 video (kcabrera74, 2011) which is the easiest to perform - http://www.youtube.com/watch?v=IaT-Pktx9nw . It is like making a normal join!

And just to complete the list, there are 2 pictorials by Claudia Meza (2010) in Spanish - https://howtotat.blogspot.com/2010/04/wide-picot-picot-ancho.html and https://howtotat.blogspot.com/2010/04/lochness-monster-picot.html?

So, each method is good. It is up to the tatter to practice and work them properly.

Ninetta has used the wide picot, aka Monster picot, quite often, including with treble tatting - https://ninettacaruso.blogspot.com/2018/09/a-wide-choice.html. Her Falbalà doily is a marvelous play with wide picots - https://ninettacaruso.blogspot.com/search/label/falbal%C3%A0 .

This time again, I am using the Wild Wide Flower earring as my entry for both Natalie Rogers' PICOT bingo (the Tat Earrings box which makes 3 boxes in a column) and splocik's Small Decorations.
Check out what others sent in as small decorations for Jan 2024 here- https://splocik2.blogspot.com/2024/02/male-dekoracje-2-galeria-styczniowa.html .

I haven't really played with the wide picot, satisfying myself with a very basic motif. Hopefully some day ....

Many thanks to all for sharing their knowledge, skills, and ideas so people like me can widen our own repertoire!

Wednesday, 25 October 2023

rabbits multiply

Pin It now!

 This month's game in our FB group is Multiply Me Oct2023 (#MultiplyMeEndrucks). We chose one motif - the Square Diamond motif derived from Endrucks' pattern #37 and asked participants to tat More than One motif. That's it! So far we have 15 participants and 41.5 motifs in various avatars!

If you wish to play along, here's what you need to download - Multiply Me Endrucks Oct2023https://drive.google.com/file/d/1IbrmrCCr7VD_ypIA_55kVHpAkQEGS1ZH/view  Check out the range of possible ideas. Our members have already gone beyond the listed ideas!

Since 2020, I have tatted numerous motifs for the main pattern presentation and also because I just so like the design! I had lost count but now took the time to count from my stored pics and they total 21, worked in various threads, shades, and applications.

However, for this game I will only be counting 3 earrings since I sewed in embellishments late last month, and one that I found a few days with only the starting few rounds done! Obviously I had to finish it in order to participate ethically, LOL.

E37 earrings worked from left to right in Lixbeth 20, Anchor pearl cotton 8, and Anchor MC 40. These were the only free motifs I could find in my stash and sewed in beads, teardrops, hooks, etc.
I tried a different style of embellishment for each.


E37 Square Diamond Motif pattern and options by Muskaan (2020)
https://drive.google.com/file/d/1wqAPnOUZwLJ9tEUk55wDZhAMw2qCNFSj/view

Obviously the inclusion of seed beads would've made the earrings look more finished and put together, but I had no energy to tat. Even this sewing was done at the very last moment despite the idea, since I couldn't even garner the energy to gather my beading supplies. 

This is the E37 Snowflake adaptation. Multiplication of motifs not merely in numbers but in the number of repeats! I can't remember what my original design plan was (except for the 6 repeats) or even when I'd started it. However it turned out kind of okay - more like a flower. Yes, a flower flake!

Idea: If the chains on either side ot the thrown ring at the tip, were yo face inwards, it would give a pointier, more snowflakish loo, I think.

It's the first time I have used wide picots in any pattern! Each arm also has a modified stitch count. I can share if there is enough interest. It ruffled something fierce, but blocking flattened it out.

And last but in no way the least is Ninetta's Iris Pendant - a beaded version of the E37 motif adapted for a pendant. When we were planning this game, she offered to tat one in metallic thread and she came up with this beauty and also shared her pattern!

E37 Iris Pendant pattern by Ninetta Caruso (2023)https://drive.google.com/file/d/1uFUpCDxnvyD7JdqLUjPPhviq6BtwvhD1/view

Against a white background, vertically displayed.

That's all I have for now. We still have a week left and hopefully the rabbits will procreate at a good pace ;-P