Thursday, 13 February 2020

dress my heart

Pin It now!
design along (DAL)


What bug have I caught?! And why am I trying to spread it around? But then we are already 'suffering' from ATS - Addictive Tatting Syndrome, so what’s one more play-along?!

Recently I revisited this NeoVintage Heart. I gave the prototype pattern in 2015 – a 2-round continuous pattern. This time I ran out of thread after the 1st round and it struck me that there are So Many possible designs that can go around those chains! Since I cannot do them all, here’s a design-along (DAL) for you. You can choose to create your own outer round, although I have given my 2nd round pattern in the pdf

SCROLL DOWN FOR PDF LINK.

In Anchor Pearl cotton size 8,  it measures around 4cms×4 cms

I’d just like to state one rule : Keep Round 1 essentially the same (although you can add beads, etc.). Design Round 2 or more as you wish. It will be interesting to see the variations.
Kind of reminds me of this make me pretty please butterfly and the wonderful diversity that flew in!
Please do share your work either here (comment) or tag me on facebook , on Instagram, or email a pic that I will then upload here.

click to download the one-page pdf - NeoVintage Heart DAL 2020

TIP : Dora Young Join (Knot) is exactly the same as what we now know as Catherine Wheel Join,  except that it is made with the same shuttle and no thread is encapsulated. .


And before I leave you to play, here is Elisabetta De Napoli’s beautiful version of Sway My Heart. All set to be a pendant on a necklace !!!


Sue (His Kid) also added a 2nd round using treble tatting – check it out!


Tuesday, 11 February 2020

cuori adorabili

Pin It now!
Don’t blame me if you see pinks and reds all around - ‘tis the season!
All hearts worked in Anchor Pearl cotton size 8.
The order in which I tatted them ....

The link to this heart pattern was shared on facebook. It is a 2009 Valentine’s Day heart by Polish blogger Alexander Dajczak.   
Ring spanned with a chain is one of my favourite motifs! And it is an easy way to get the threads across if you don't like split rings.
I worked with ball and shuttle and started with the top right of 5 center leaves and moved counterclockwise to return back to first ring.
I added a few graduated picots at the tip.
TIP : One addition I would make is to add a stabilising picot on the 10ds chains - 2 vsp 8.
It is 5 cms high, 6½ cms wide.

An event was organised in the Chiacchierino: Filo, Amore e Fantasia facebook group that had free heart patterns by 2 very talented ladies. They have another online meeting on the 14th, if you are interested.

Stefania Di Cesare shared 3 versions of All My Heart of which I made only the first to get an idea of the size. Eventually I’ll try another with bead in the center of the ring, and a beaded double picot. (16 mm picot.)
Another of my favourite effects is concentric rings or chains and this design had it in abundance! 
I went with some colour-play, BUT ….
TIP : ... I carried the core thread of previous round into the next. Delayed cutting and fewer ends to sew in. More importantly, no colour blip in the lock join since it was the same colour as the picot!
It is 3 cms high, a bit over 3 cms wide. 

Daniela Galli shared her heart titled the same as the event - Un cuore per San Valentino.
It is also supposed to be worked in one pass using a split ring to climb out. But I could see another heart in the central medallion, hence chose a spring theme palette.
I added a teardrop using my floating beads method.
I like the heart inside a heart!
It is 4½ cms high, 5 cms wide. 

It was great fun doing these quick little tats on the side. I like them all!!! The 2 Italian ones I did in the same evening.
I am still not taking up any large doily (though there are numerous beautiful ones floating about) in order to focus on other stuff, including writing up the snowflake patterns.

Many, many thanks to Daniela, Stefania, & Alexander 
for sharing their beautiful patterns

Friday, 7 February 2020

such sways and swaggers

Pin It now!

Oo, là là ! Such sways and swaggers! Such are the hearts here – all a-sway with built-in swagger!

So the green one is my 'official' version – much closer to my original sketch. It still needs stiffening if it is to be dangled. But now that I have the shape I want, I will experiment with some techniques and looks to keep the shape without the use of wire or stiffening.

Look what popped up as I worked around the center ! A possible paisley.

After round 1 - This time I thought of not adding an extra ring around the inner one. But on comparing after it was completed, and confirmed by hubby, I added that outer ring using scrap thread. This is why you see some pics with only 1 ring. Although hubby did say that it can be given as an option.
I like the look without any out round! 
Please note, that this round will need to be dampened and shaped before finalising it and proceeding to next round.

The green one, in Anchor size 20 (≡ Lizbeth size 10) measures 3”x2”.

All picots are very small. 
I think the ring on the left of the 14-14 ring should be 12-12 rather than 11-11 for a more natural gradient.
The rolls/wraps in the outer roll-tatted chains can be adjusted to suit your tatting tension.

With only the lone inner ring. As mentioned, the outer one was added later as additional decoration.
This motif can be worked continuously by climbing out with a 3ds split chain.
For detailed process, tips, and pattern notes - Round 1 ; Round 2 

Many thanks to those who played along! 
You can join the fun and tag me (facebook/instagram) , leave a comment, 
or send me pics of your versions!

Elisabetta de Napoli started a beautiful center in metallic [UPDATE- see complete heart here], 
and Sue worked in size 40. [UPDATE: treble tatting in 2nd round]
Margaret Davies used spiral/Josephine chains instead of roll tatting. 
And then there are Victorian sets that also provide visual texture.
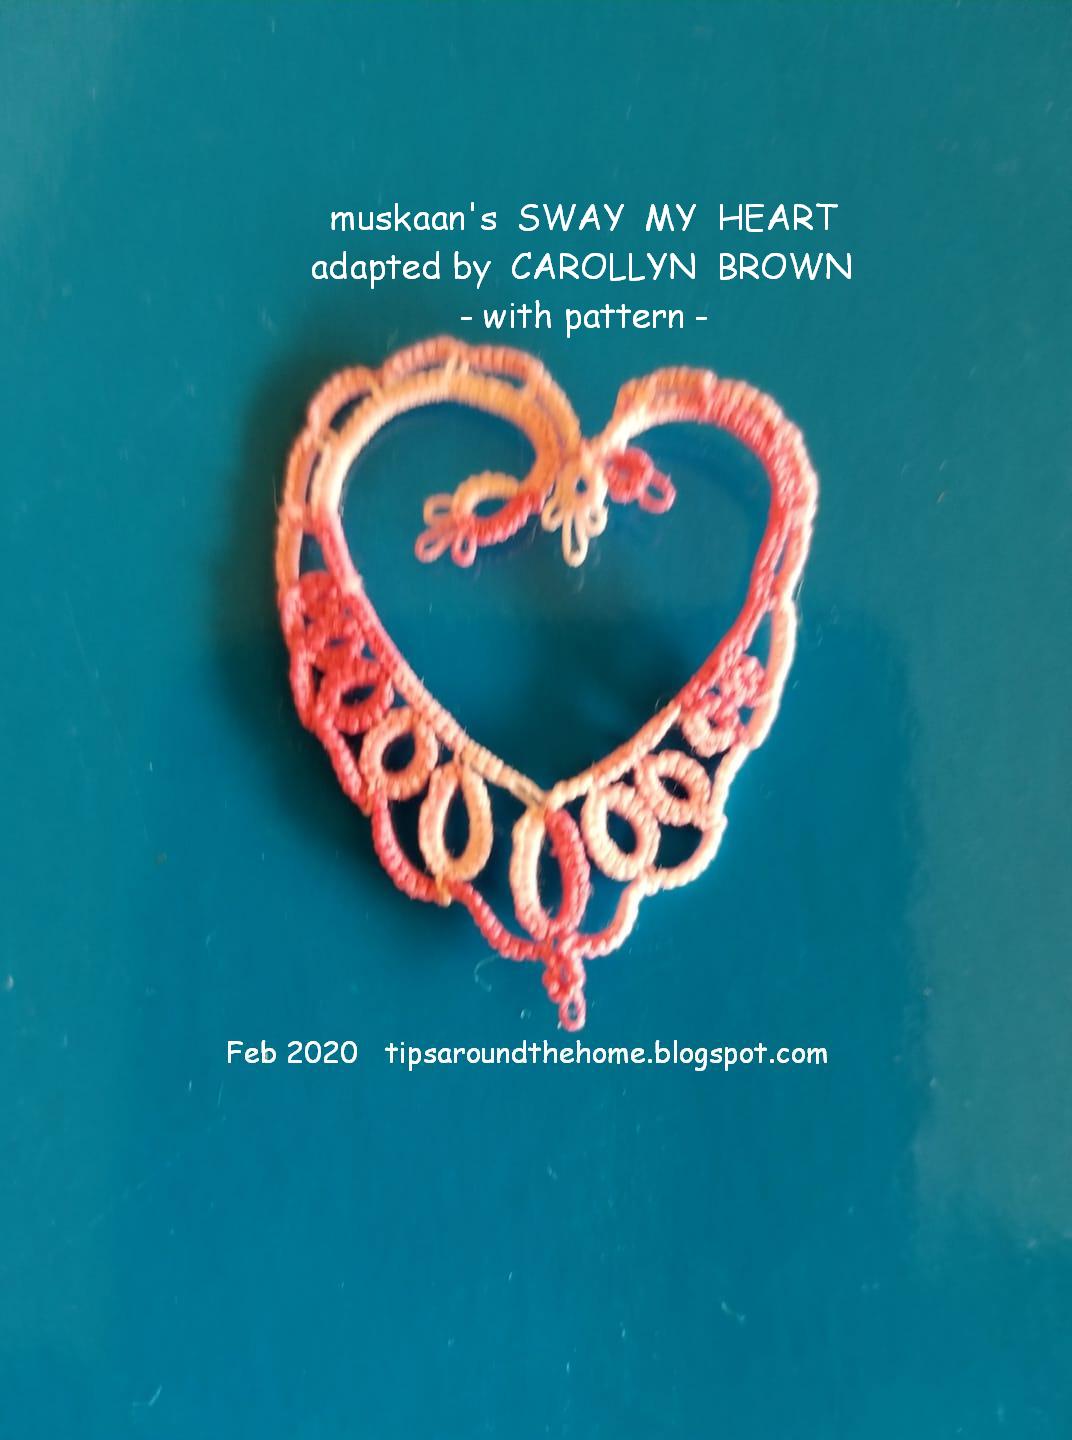
Carollyn Brown tweaked the pattern as you can see, and shared her count and notes. She seems to have straightened out the errant swagger ;-P In her own words ….
"Well I started at top and placed picots every six ds after the initial 2 rings and chain of 3 ds. This way I could go around twice. I had size 80 which was on shuttles and should have used larger thread but it was fun to make thanks can give more counts if needs be
Here are quick numbers I still used 4ds inbetween and I feel this could be tweak some more maybe less stitch count on out side outline.
 This last picture is the count for outer part no cutting threat till end."

Ninetta Caruso sent in her version – oh my it is already part paisley! And true to form, she has used s small curled ring (sCR) with bead, as well as treble tatting. She also linked adjacent thrown rings . The pattern in her words ....
"With one round only, mine should be sewn up somewhere to keep its shape. Otherwise it needed wire in the core, that would be something worth a try.
The inclination to left or right is just personal taste, in my version for example I would tat it again because at the end I like the other face up, but the sCR defines the front side.
I forget to tell you that I started from the bottom mock ring, then this and next rings are connected, that is the first is mock ring: 4-8-8-4, next is ring: 4-7-7-4, etc. decreasing the joint, till the last that is ring: 2-1-3.
I finished in the little heart at the bottom. "

UPDATE : 2 more decorated hearts !

As they say, 'it takes a village …' I love adaptations/derivations and also get to learn and improve my own work. So, unfortunately, this heart is still not ‘completely’ complete. There’s a lot of play left, right?! ;-D
Only after I am finally done with the ideas, I will release a proper pattern. But this should be enough for you to play along and to experiment.

happy tatting