Melanie wished for some details on how to put silk threads to use, and this post is a short compilation of my projects showcasing some of the ways I've used them along with my thoughts/tips. But first step over to see the silk project she's working on here.
1. Embroidery on paper -

So my very first project with silk thread, for which I specifically bought a spool, was for embroidery on greeting cards in 1986-87. These are some of the many I and my sis made together. Except for the towers on the left which used 2 strands, the rest all use only one thread.
2. Hand embroidery (single thread) -

I tried to use the thread for a picot edge but unless the tension is very precise, the silk thread tends to break. I finally settled on coloured sewing thread for the edges.


TIP: One tip when using silk for hand embroidery - Use short lengths. Long threads tend to unravel or knot. More importantly, the thread frays due to friction with the needle eye. My solution is to keep moving the needle along the thread so that it does not cut through the thread at one point. It works really well, as in the next project ...
3. Hand embroidery (multiple threads) -

This is also the go-to thread for another form of hand embroidery - Phulkari, a traditional style with geometric designs that fills up the entire fabric from the front! The Punjabis use brilliant colours to fill up the spaces. I am not much into symmetrical patterns, hence have never tried this stitch/pattern.
4. Machine embroidery -
 Above is my sole venture into machine embroidery. I deliberately went freeform with the neck coz I could not manage to 'stay within the lines' - my design choice, haha. It is for my MIL's nightie way back.

It took a lot of manoeuvring to get the tension right and avoid breaking thread midways. I managed successfully for the most part, but not always.
This is nothing compared to what my Mom could do, including using a horizontal needle to couch over. It was mesmerising to watch how she moved the hoop on the machine with one hand, while turning the hand wheel with the other, phew!
5. Tatting -


TIP: Before closing the ring, if you post the other shuttle through the open ring, it creates an overlapping and enclosed effect!!!!

 Then of course, the common use for silk threads, as advertised when selling, is for tassels, as in the above bookmark. Long tassel earrings are a rage at present.

See how the threads seem to emerge from within the topmost ring? It happened when I posted the other shuttle through the ring before closing it. And the chain seems to emerge through the ring!
The flaws in tatting are purely my lack of skill at the time.
6. Tassels -

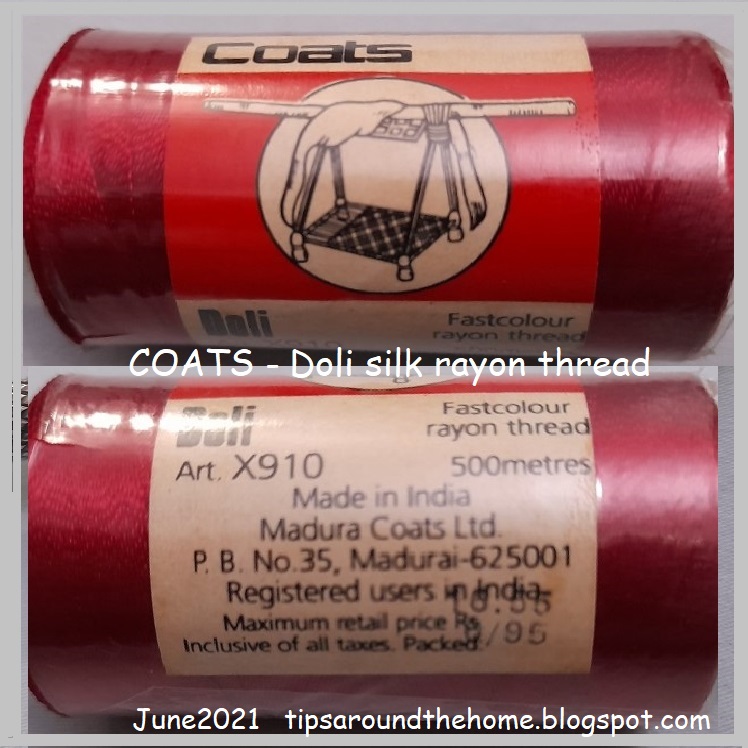
Silk thread brands in my stash -


I have a few twisted strands of silk thread as well, but forgot to take a pic. Maybe I'll add a pic tomorrow. So do check in tomorrow ....
UPDATE - Here's my complete silk thread stash -

On the left are some skeins of Opella brand silk threads. Some have been used, others are still intact after decades! The tag says 'Fast to Bleach' (does that mean it is bleach-proof?), and it has the shade number as well, unlike the other spools.
UPDATE - This is what Kathleen Minniti says in her comment below - NO CHEMICAL BLEACH EVER ON SILK! It will literally dissolve silk to nothing. The label may be referring to fading from sunlight; laying garments out in the sun to "bleach" has been a time-honored method of lightening cotton and linen fabrics.
On the cards below Opella, are leftover lengths from projects.
And under that is my new metallic thread stash that I will show you once I've tatted with it!
Thank you for this post! I will be trying out silk thread in tatting some day. Well, soon! Your tips are duly noted and will help.
ReplyDeleteGlad you found it hopefully helpful, Mel 💖 I have now uploaded a pic of my complete stash and should start using it 😁😉
DeleteYou’ve done really good work with the silk. Using several strands for tatting might be difficult unless you could twist them together perhaps. I was thinking of Jane Eborall’s hand wound thread, but I think she was using cotton.
ReplyDeleteYou are absolutely right, Jane, the smoothness will tend to keep strands apart and it will also be difficult to tat under a fan 😄😍💗
DeleteWill keep you posted ...
Wonderful works, a collection of lovely memories 🥰
ReplyDeleteOh yes, Ninetta 😍😃💗
DeleteGreat projects!! :)
ReplyDeleteMerci beaucoup, Sue 💕😍🌸
DeleteI am in complete awe of those embroidered paper cards! They are marvelous!!
ReplyDeleteMissed you Emily, when I posted the last of the thieves recently 😉😍 Glad you like these 💕
DeleteI love the shading work on the orange/red rose hankie, Muskaan! Also, NO CHEMICAL BLEACH EVER ON SILK! It will literally dissolve silk to nothing. The label may be referring to fading from sunlight; laying garments out in the sun to "bleach" has been a time-honored method of lightening cotton and linen fabrics. i love tatting with silk, too, but I'm a sucker for super fine threads. :D
ReplyDeleteOh, this is precious advice, Kathleen, thank you!!! 💖😍💕 I don't use even fabric bleach because the fumes seem to stay with me for a very long time.
DeleteSo happy you like that embroidery 🤩
Amazing work! Thank You, Muskaan!
ReplyDeleteYou are too kind, Elena! 💖 Thank you for your appreciation 😍💕
DeleteYour silk embroidery and silk cards are like eye candy! Beautiful and delightful to see! Silk threads. The finest. Love the luster. Thank you for sharing your experience with us. It's very interesting when and why you bought certain threads. Interesting you wrote this article. Again, our minds are matched.
ReplyDeleteThanks, buddy 😍 Your comments made me read the posts again to refresh my memory. Blogging is such a great diary!
Delete