I’ve
been pretty lethargic these last few days – picking up the shuttle and/or Cluny loom
for short durations only. Reading

But I couldn’t
resist the urge to tat this latest from kukkatatting! It’s her 94th
scmr medallion and I love the picot flowers all around giving the snowflake a
flurry look. Except for the ones on the tips, the picot flowers are linked to each other, and I missed out one attachment.

Worked in size 40 thread, it measures over 7cms across. I hope she does not mind me copying her pattern. In case of any
complaint, I will delete this post with due apologies.
ÕÖ×ÖÕ
After
a few days of musing, here’s how far the Scrappy doily has come. I
absolutely Loved all the advice I got (thank you once again, gracious
tatters/crafters), and it has guided me in this round so far.

I
started by sketching an outline of the 4th round (which you may
remember was ovoid), and then sketched a couple more lines around it to balance out the asymmetry.

Also, I increased the size and number of rings at the
starting end to overcome that missing ¼th inch. I haven’t needed to
add too many additional rings along the side, though. Let’s see how it turns
out. I’m enjoying the figuring out process, without applying high-end
mathematical calculations ;-P
ÕÖ×ÖÕ
And
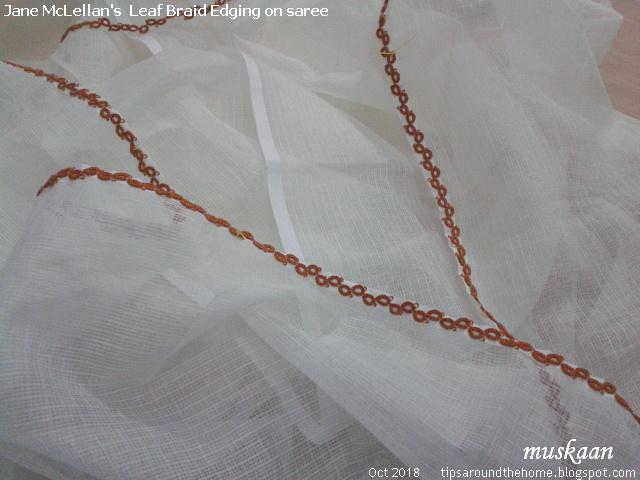
a couple of weeks back I did finish sewing in Jane McLellan's leaf braid edging on to my MIL's saree. I didn't want to end up with all the sewing in one go (blossoms motifs and edging together). This is actually a pic taken much earlier.
ÕÖ×ÖÕ
Meanwhile,
I Have finally made the Cluny Butterfly and will share it once I finish writing the pattern. Lots of
trials and friendly feedback, but may still need to be test-tatted, so get your shuttles and scrap threads and Time ready for a request :-D


