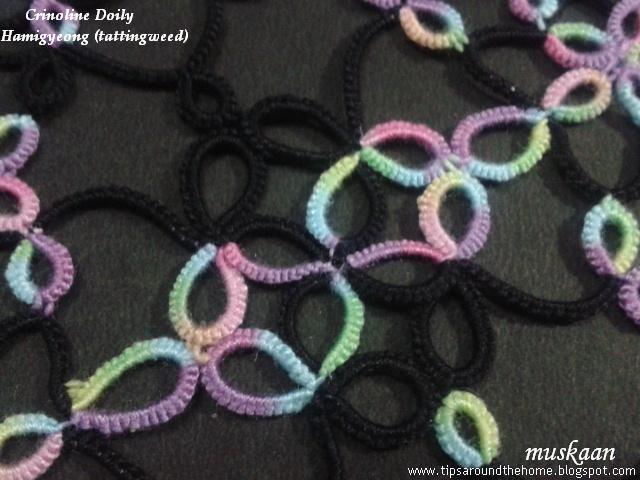
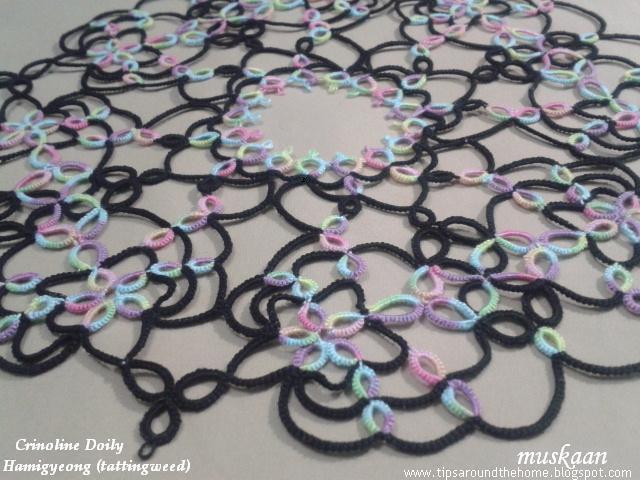
Couple of days back, Carollyn shared her Gamayun bird lady here,
and mistook my avatar image as one, since only thumb nail images can be seen.
This post shares larger images of some of my old artwork. It was my ink phase
in card-making – mid-80s to early 90s. This is all original work. Hope you like
it.
Silhouette In Ink
Love to doodle when
idle, when waiting?
No art materials at
hand ?
What about only a pen
and a paper ?!

I like to
doodle. I like to recycle.
Combining both interests, I made these simple cards from materials that you can find in any office, or have in your own purse. A pen & a paper !!! Let imagination do the rest.
Materials I used (everything can be changed as per what is available) :
Manila Folder (or stock paper), cut to desired size.
Ball point pen(s) - (yes, I'm old generation ;-p)
Pencil, if required, for initial sketch.
These are cards made from manila folders with a semi-soft beautiful texture when seen for real. A kind of handmade paper appeal.
I have used Ball-point pens - red & black - to color the designs, taking care to keep the strokes in the same direction.
There is an actual richness & depth of colour that may not come through, especially after so many decades !
Combining both interests, I made these simple cards from materials that you can find in any office, or have in your own purse. A pen & a paper !!! Let imagination do the rest.
Materials I used (everything can be changed as per what is available) :
Manila Folder (or stock paper), cut to desired size.
Ball point pen(s) - (yes, I'm old generation ;-p)
Pencil, if required, for initial sketch.
These are cards made from manila folders with a semi-soft beautiful texture when seen for real. A kind of handmade paper appeal.
I have used Ball-point pens - red & black - to color the designs, taking care to keep the strokes in the same direction.
There is an actual richness & depth of colour that may not come through, especially after so many decades !
I had this idea of creating my own brand of handmade cards and my
logo read “Reaching Out” from this black silhouette.
Many of friends and family received diverse handmade cards for
several years and some well-meaning, overenthusiastic friends even bought some
!
It all started with this tiny card / card topper (barely 1.5 x 2 inches):
 |
| Fluttering Dreams |
"Fluttering
Dreams" was initially titled "Reaching Out" ; this card is a
visual representation of the logo that I use on all my cards & was on my
online profile till very recently.
 |
| Shimmering Night |
This is
another quick card I made on an idle night. It measures less than 2x3 inches.
You know
the strips that get left out when we cut stock paper or any large paper into
cards? These little cards/card toppers/tags were made from those leftover
strips, folded.

Notice
how the strokes seem to form an enlarging circle from the center ?
TIP : Trick to good ball point pen coloring is to keep your strokes in the same direction, and maintain even & steady pressure while
coloring. However, if shading is desired, then alter pressure to get lighter or
darker zones.
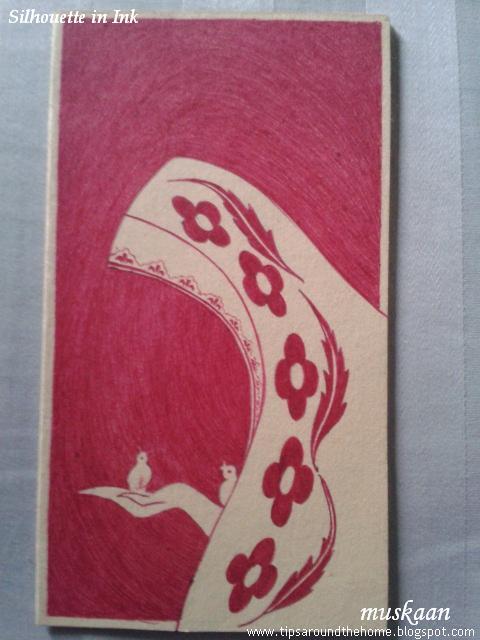 |
| Expectant Love |
This one in red, measures <3"x5"
In
2011 I had shared 4 of these card toppers on a site. That’s when I went on a
christening spree. Collectively, I would title them "Reaching Out" -
each image seems to show some kind of reaching out.
You may
notice the minimalism and some symbolism. I enjoy adding some meaning to
artwork.

Lightly
sketch with pencil (or directly with pen) and outline with pen.
I prefer to
erase the pencil marks before continuing further
 |
| Leaning Daisies |
Make
concentric arcs/strokes at regular distance in the chosen direction.
Choose
small areas or blocks (between 2 arcs) to fill in at a time. This helps ensure
evenness & control direction. It is important to keep direction constant.

Gradually
cover in the entire background.

Add any
necessary details within the image.
Your
silhouette ink profile is ready !
This last close-up is the one I am now using as my profile (3"x4.5") :
 |
| Shy Blossoms (or Hidden Blossoms?) |
She could
be a bride. (too old now!)
She could
be a shy person. (nyaaah! Are you
kidding me?!)
She could
be someone who wishes to remain anonymous.
She could
be one who enjoys working behind the ‘screen’, spreading joy – someone who
loves Nature and enjoys sharing.
You tell
me who you think she is ?! :-D
Continuing on the topic of ink, here's one last card.
This is not a silhouette and neither does it use ball pens.
I've used stippling with a fountain pen, using red & black inks.
 |
| Swaying Acorns |
And a
close-up … It measures less than 3”x4” ...
When I made this, I didn't even know the term was 'stippling'.

What I
like about this ink art technique is that one can make it Any time & Any
where - all it requires is a paper & pen !
I’ve even
double-folded A4 sheets and sketched on top. Those were quite
well-received at the place I worked. Unfortunately, I don’t have any of those
designs – mostly freehand flowers, twigs, etc.
Have a great day :-)