Showing posts with label update. Show all posts

Thursday, 22 May 2025

bead tatting

Pin It now!

Over the past couple of years I have approached many experienced and expert or domain tatters for some explanation or confirmation and feedback, or even to ask for a pic of their work ... all in the cause of the book/glossary. Not only have I learned a lot, but everybody has been very cooperative!

Late last year I had approached Nina Libin regarding her BEANILe tatting and if she would share a pic of one of her models for the book (I didn't like any of the beaded models I had tatted till then). Despite her ailment, she willingly obliged with both an explanation and a pic. However, she was adamant on one point - do NOT call it Beanile or BEANILe lace! Shocked, I asked her why and she said it was merely her 'arrogance' for wanting her name associated with the term. She told me in no uncertain terms to call it Bead Tatting instead. 

Bead Tatting (formerly known as Beanile lace) is tatted lace decorated with lots of beads that are incorporated during the tatting process itself. Earlier the beads used to be strung on the ball thread so that they would embellish the picots. Nina was instrumental in stringing the beads in the shuttle thread as well, in order to position them in beautiful arrangements. 

I am uncertain about beads being used in single shuttle tatting before the introduction of chains (or 2nd thread). Did they use beads to cover bare thread between rings? Do you have any idea?

Nina differentiated this from Beaded Tatting, where beads are sewn into finished lace, as in ANKARS. 

Tatting with Beads is another common term. This would mean that beads are used in lace either during tatting, pre-strung or free, or stitched in later .... any which way(s). Thus this term encompasses both Bead and Beaded tatting and any other method (for instance pinning down beads on a foam ornament covered with tatted lace).

It would be great if you leave a comment with  your thoughts on the matter or any other input you may have. 

Now despite what Nina says and wishes, it will be difficult to erase the term Beanile lace from our tatting lexicon! And the terms above are not airtight categories! We all use them interchangeably.

Some of my recent bead tatting samples ... all are my own designs applied in different situations or techniques. See if you can guess them!  Since these are all prototypes, mostly tatted on the go, there are minor errors or untidiness. 
1 - Beads On / Over Picot
UPDATE (June2025): Fan Palm Motif/Pendant pattern - https://drive.google.com/file/d/16amEUnVT7ERSySRJqbMsj0af0Xu_MFsP/view

2

3

4

5 - 4-shuttle Interwoven SR braid Barbara Arango's variation -
UPDATE (July 2025): Muskaan's Interwoven Beaded Bracelet pattern.


At a future date I will try to share more details about each model, and a pattern wherever possible. At present I'm just relieved to write this post which has been pending for so long.

I have tried to keep in touch with Nina, as she requested, sending out an email every 4 to 6 weeks. However, I haven't heard back from her for several months now. Sending her my best wishes for good, manageable health. 
Read her interview here - http://www.beadsky.com/nina_libin.php

Many many thanks to Nina Libin for her continued help and support through the past 10 years and the inspiration her work continues to provide ! 

Tuesday, 22 April 2025

just so tatting

Pin It now!

Over the past few weeks I had been receiving versions of the DAL 2025 challenge and I was feeling very inspired and motivated, itching to design/tat. While I couldn't focus on adding another round for my own DAL version, I picked up a motif I had worked for the glossary and decided to tat around it. My aim was to keep it simple.

For many samples I have been using Anchor knitting cotton size 10. This is very thick but smooth and a bit loosely twisted. Sometimes it is necessary to be attentive while tensioning the stitches to keep them uniform. Nevertheless, I do enjoy tatting with it. The disadvantage is that it is difficult to use such thick pieces in SOUP tatting. So I am happy that this has now become a good size for a coaster (9cms across).

Sharing the pattern for the Just So Coaster if anybody is interested. I was simply winging it but it lays flat.

  • It can be worked continuously in one pass by climbing out with mock picots, split chains and split ring. Trace the path before you start. Otherwise, enjoy working as individual rounds and play with colours. 2 shuttles are required only if you wish to tat it in one pass. 
  • Count for each round is marked in a different colour.
  • It starts with a central ring with long picots, followed by two rounds of chains lock joined below.
  • The 3rd round is a scroll with rings and chains. I wanted the smaller rings to overlap a wee bit but they ended up only squished together. Both small rings are joined to the same picot of previous round while the large ring is joined to the hidden picot above the lock join.
  • Again a chains-only round with medium sized picots. 
There are pics for individual rounds - WIP and/or completed. However, I doubt they are needed and would take too much time to notate. Hence I hope the inked count along with my notes will suffice. 
  • And if working as separate rounds, it is a beginner pattern with only rings, chains, picots, picot joins and lock joins and each round can be worked with a ball and one shuttle, CTM.
I deliberately have picots on the last round in the event I feel like adding one or more rounds. 
Feel free to extend the design to more rounds, if you wish, but do share it with me. All my contact details are on the top right panel of my blog.

****
UPDATE (3rd May, 2025): Round 5 is shared here https://tipsaroundthehome.blogspot.com/2025/05/comfort-tatting.html and end Round 4 with a split chain for continuous tatting. 
****

I hadn't intended for the scroll round to be so overwhelmingly ecru. So it lay around for some inspiration. It was a happy coincidence that I bought new threads from a 'new to me' online store. I needed more contrasting colours in this knitting cotton to work on the samplers and as soon as the package was delivered my mind was made up with this maroon shade! 
Since it was my first time with this store, I bought single balls/sets of different types of threads/brands so that I know what to expect in future, except for the six knitting cotton shades. And I am very happy with the quality and service and will definitely be going back for encores ;-D It was nice to see they stocked size 40 threads too, albeit in Red Heart, since Anchor has stopped manufacturing it. The other balls are all Anchor - size 20, perle, etc. More about the 'cone' threads later.
So this is my knitting cotton palette for now. Bottom row are the 4 shades I have had for a very long time (there are at least 6 more balls of ecru, bought from my local shop at least 10+ years back). I have already used all shades in my recent samplers, giving new life, energy, and colours!

Happy Tatting! Thank you for inspiring me!

Wednesday, 5 March 2025

update with video

Pin It now!
There are frequent requests for videos instead of a pictorial or a schematic to showcase a technique or even a pattern. A sign of changing times which is fine by me except that videography is not my preferred method. I have watched several of Karen's videos over the years and learned from them. Yet I prefer the stepwise layout whether in a blog or printed so that I can try at my own pace; study each step and position of thread minutely when required; and I don't need to rewind back and forth. Refreshing my memory is also easier with pictorials and diagrams coz I can easily skip steps and focus on what I need. Personal preferences, no judgment. 

Anyways, in one of the FB tatting groups, a tatter bought Rebecca Jones'  1985 book, 'The Complete Book of Tatting' after I shared my direct method tatting post here -https://tipsaroundthehome.blogspot.com/2025/02/direct-method-tatting.html . She could figure out the first step of how to start a ring or chain with a lark's head knot. However, she had trouble with how to continue with the half-stitches. I decided to make a quick video for her eyes only. But I think it isn't too bad and would perhaps be of help to others, too. 

So here is the direct link to the video - Rebecca Jones' Direct Method Tatting: 
https://drive.google.com/file/d/1bsXzAGaSacKqw06CC3Uq24ImB2t6-sUA/view

I have tatted 3 double stitches in a ring in this demo. Hope it helps. Please excuse my clumsiness and background. Like I said, videography is not my go-to format, and I shot this in one go ;-D

Comparison - 
What I later realised is that this in one of two ways to make a lark's head picot join (LHPJ) or lark's head join (LHJ)! Watch Karen Cabrera's Lesson #101 - Lark's Head Join.

And now I remembered that Ninetta Caruso uses the 1st half-stitch movement while tatting the wide picot! Her video - https://drive.google.com/file/d/1XsqlFZHcVpopvRFBhTgR6_oQWqf98Bw7/view  and my pdf and post here - https://tipsaroundthehome.blogspot.com/2024/02/going-wide.html .

Love to find connections! Happy tatting! 

Thursday, 9 January 2025

updates

Pin It now!

I have often updated a post (highlighted as 'UPDATE') without any separate notification. This time I thought a special post would be good for those interested since there are quite a few. Yet as I list them, I find some should be accompanied with a photo. Hence while I rectify that omission, here is part 1 of the updates in no particular order ....

DAL Celtic Snowflake challenge. Pattern (diagram) for Padma Mandayam's adaptation of Mariola Siwek's version is now uploaded to this Google doc - https://docs.google.com/document/d/1pVqM6S5Ng49xk6erSsDyRm3y7SdV2tCIUOCgltze4lM/view for you to enjoy. 
Original post -https://tipsaroundthehome.blogspot.com/2024/12/and-more.html 

🌹🌹🌹🌹🌹


I was very impressed with the way Ninetta had started her ring seamlessly without making any 'join' by using the same joining loop as a ring loop. Well, forgetful brain did not put two and two together especially considering I have used this method before. It is basically the Ring on Picot technique which Patty Dowden demonstrated in this video -https://m.youtube.com/watch?v=LmMxIBrDpRI 

Original post -  https://tipsaroundthehome.blogspot.com/2023/10/awakened.html

🌹🌹🌹🌹🌹 
 

When I wrote about Fringe Tatting and the Tatted Fringe I did not highlight that beads could be used for the fringe, too. Eventually I made a beaded fringe inspired by and following Corina Meyfeldt's directions for Beaded Stem. Nina Libin called it Single File Beaded Picot.  The beads are pre-strung on the shuttle or ball thread depending on the pattern and each fringe or beaded picot is moved in place when needed. 
Original Posts - https://tipsaroundthehome.blogspot.com/2024/08/on-fringes.html
https://tipsaroundthehome.blogspot.com/2024/11/soup-catcher.html

Here's an old model from 2017 - https://tipsaroundthehome.blogspot.com/2017/05/rising-month-late.html
This method is fine for a limited number of fringe elements/picots with a limited number of beads on each or if all the beads are on the ball thread. 
One more method is the Floating Beads method but it has severe limitations -https://tipsaroundthehome.blogspot.com/2017/09/floating-beads-part-4.html

🌹🌹🌹🌹🌹

And finally splocik's Small Decorations 2024 since I won't be participating in her 2025 verion - December gallery (https://splocik2.blogspot.com/2024/12/male-dekoracje-2024-galeria-grudniowa.html ) and collages of entire year's works by some participants (https://splocik2.blogspot.com/2025/01/male-dekoracje-2024-podsumowanie-i-3.html) ... links added to my final post (https://tipsaroundthehome.blogspot.com/2024/12/a-no-glass-ceiling.html). I am happy to have been able to submit 13 decorations.

🌹🌹🌹🌹🌹

I had sent the vapour stitch bouquet pic for PICOT Bingo, but couldn't complete the game in the way I had intended and imagined. 5 boxes still left to cross out. Natalie, too, has uploaded a 2025 bingo card, but I won't be participating. See how disciplined I am being this year?! ;-D 

This is it for now. More updates will follow with some exciting revelations/discoveries!

And I still have to update some of the original posts with new links/details. Tomorrow. It's time for bed now.

Thursday, 11 July 2019

bunch of pattern updates

Pin It now!

There are quite a few updates I need to share. I will be updating the respective posts, too. This is the reason I suggest going through the related blog post even if there is a pdf, since it is easy to add updates :-D.

Recently I realized that the pattern link was corrupted and irretrievable. This gave me a chance to add the Patchwork bookmark pic.
Here’s the new link : Snowflake (6-pointed motif) pattern

This doily has long measured picots which are Functional. I worked the doily in Anchor size 40, but what if one wants to use a different thread size?
I worked a short chain with same thread and found that a 7mm picot is equal to the width of 7 double stitches! And so on. Easy to remember and convert.
Just substitute 1mm tall picot with 1ds width.

You may remember that this is the round robin doily which Coretta had started. She graciously accepted to share the pattern link. It is a Google Docs link and the pattern presentation is a mix of 4 different styles, but will take time to clean up. 
Coretta also invites you to a new round of designing – continuing from the 5th round onwards. If interested, please leave a comment here or on her blog here (or on facebook or Craftree)
Here’s the pattern link : Hexaflower Doily pattern 

In the beaded version of this snowflake, there is another way to work with ball and shuttle, if you do not wish to use direct tatting (unflipped stitches). Simply make a SLT & reverse work to tat that chain segment. However, you may have to pre-string the large bead on to the shuttle thread, instead of unwinding. Many paths, but be vigilant.
I added the tip the next day, but blame the oversight squarely on my lack of focus due to fever.

And what's a post without some visual masala?! So here's some unfinished work.

Intertwining Bracelet - Anastasiya (Hobby Point)
Inspired by Aliona Racu’s bracelet in facebook several weeks back, I started this Ankars/Celtic  bracelet in June. 
For the pink pieces, I loaded one bobbin, then kept pulling out a length of thread to work the chains. Thus I got ctm with a single shuttle and fewer ends to hide. 
I’ve had all these pieces ready but need to continue watching the video to assemble them. And I just haven’t been in the mood – what with being consumed designing snowflakes et al ;-P

Boxy Maple Leaf – Vicki Clarke
Like last year, Vicki again did a very Canadian tat-along which I started immediately - twice in fact (the one on left is in size 40, the one on right is pearl cotton size 8). But somewhere along the way, I lost the will to continue. I didn’t like my colours, I didn’t like my tatting, and I couldn’t focus. I still haven’t cut off the threads, so I might get around to completing it someday. My apologies to Vicki for my bad outcome.

She then shared a 4th of July tat-along pattern – Rockets Red, in 3 stages, which turned into a lovely flower! Saving it for a future date.

On a happier note, though, I have done my trial for the next snowflake - well it turned into a star - and just need to work out the center. So stay tuned :-D

Monday, 15 April 2019

joys of dancing

Pin It now!
We are enjoying the sights, sounds and antics of a variety of birds; including their dance of courtship or under the sprinkler or in a puddle! The kingfisher (with a few sparrows) has returned after a gap and sits on a tree in clear view!
joys of dancing with friends !
When we had first moved here over 20 years back, there used to be a couple of peacocks strutting around! They soon disappeared, never to return.

Anita Barry has been strutting my Dancing Peacocks & it's my turn to dance now :-D
She converted the medallion into a beautiful pendant and also worked out her stitch count for the earrings for a size 8mm bead. The green chain has padded double stitch!

This is another pic of her very first try immediately after I uploaded the pattern ('18) – love the vibrant colours & frayed picots!!!
While adding her count, I took the opportunity to draw some stepwise diagrams of the floating beads method, as relevant here, as well as generic. With her valuable and in-depth feedback, the notes on page 2 are more streamlined now.

I will delete the old one and substitute it in my patterns page above

At Camp Wanna Tat they have a “Pattern Binder” available for workshop attendees to look through and review. This April my peacocks have been mailed to attendees.
And the same pattern will now be taught at Palmettos Tat Days in September this year! Here's a link to the inspiring class pictures. 

My patterns have made it to the Tat Days goodie bags two years in a row ('16 & '17), thanks to Georgia Seitz's initiative.  
Speaking of, she will be teaching Noorjahan's Rubies - necklace and earrings - at the Shuttlebirds event in May! She is using metallic thread, though I haven't seen it yet. I hope to do the same someday.


I have fair reason to dance despite this hot Indian summer, right ?!


All these patterns have floating beads methods! I was hoping to create more diagrams for the method and it’s variations, but doubt if it’ll get done by the end of this month. There Has been progress, though.


My heartiest thanks to Georgia and Anita for letting me dance :-))))

An update to my previous post - 2 new pics have been added - one of mimosa knot leaves, and another prototype of a rose bud. Do check them out. 


Related posts

Monday, 3 December 2018

flaky visits

Pin It now!
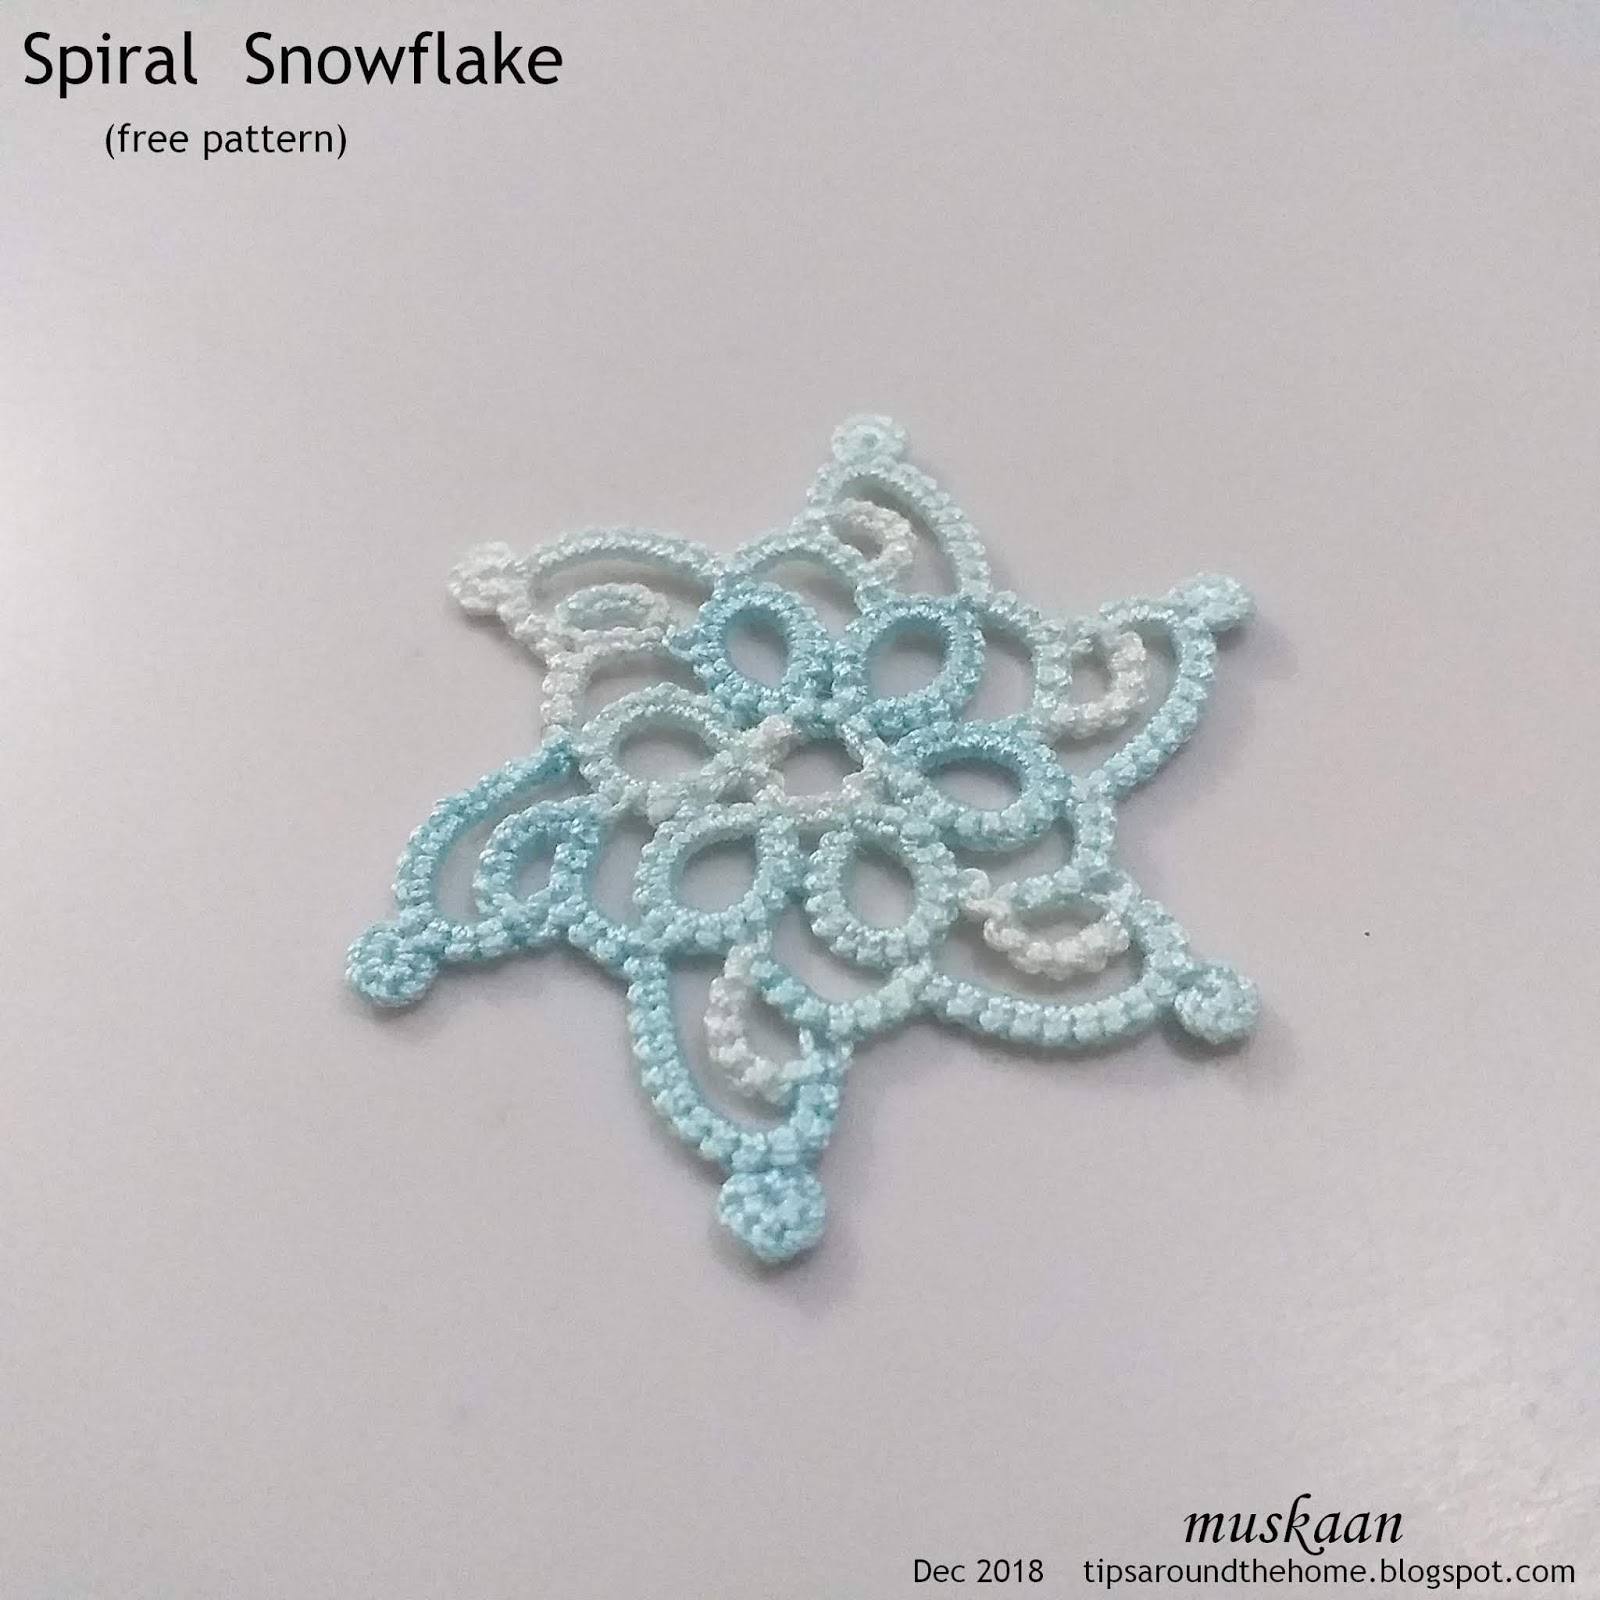
I had bought those Lizbeth 20 mixes in order to work my own patterns in that thread so as to have a more universal, uniform, comparable, and easily convertible measurement. Unlike the newer Anchor (Madura Coats India) size 20 which is all over the place and way thicker than a Lizbeth 20. With the finished dimensions provided earlier and now, you can easily see the difference in the old (Anchor 20) and the new (Lizbeth 20) snowflake!


So, when I saw the vintage motif pattern trend last week, it spurred me to revisit some patterns. And on my journey I noticed a little omission here and there, but am not well nor motivated enough to rework the pdfs/diagrams. Sometimes it is a boon if your patterns are not popular – the mistakes remain buried ;-P


I loaded 2 shuttles with Lizbeth size 20 thread and got to work. It felt good to tat a done pattern in softer ice-blue shades after all those colourful blossoms. I am sharing only tweaks here, with stitches inked in the respective picture. Links are provided for the detailed patterns.

T 

Hexagonal Motif snowflake
Instead of a central picot which accommodates all subsequent rings, I linked adjacent rings through very small picots. This also meant that decorative picots can be added in the central negative space.
Measurement: 1½ inches point to point.

Main techniques : 2 shuttles, ctm. Thrown/floating rings (TR) which require switching shuttle (ss) before and after.

R1: 4 vsp 2 p 2 vsp 4. rw
**Ch: 3 p 3 ss TR (2p2p2) ss Ch:3 p 3. rw.
R2: 4 + 2 p 2 vsp 4. rw.**
Repeat ** to ** till there are 6 inner rings. Finish off with chain.


Pentagonal Motif star or snowflake
Measurement: 3 cms wide.

Since I didn’t want to change the count, a central picot becomes essential here. Thus advantage of central picot is that it is easier to adjust the number of rings around. I bent a double loop across 4ds for the central picot. This picot is sufficient to hold the 5 inner rings. (see Stitches as Picot Gauge on page 5 of Measuring the Picot)

T


I had shared the design process for this flake and the reason why it had bilateral symmetry instead of a 6-order rotational symmetry. This time I ‘corrected’ it and all clovers have the same count.
Measurement: 3½ inches
[ Round 1 : 1¾” or 4½ cms  ; Round 2 : 2¼” ]

Techniques include :
2 shuttles, ctm ;
floating Josephine rings/knots (JK), hence 2 shuttles required for rounds 1 & 2;
lock join (missing in written pattern);
Victorian sets ;
padded double stitch or pds (2 wraps on each half stitch).
  • We can climb out with a split ring in clover and mock picot, thus tatting the entire snowflake in one pass.
  • Instead of slope and roll join, I used lock join throughout, and counted it as first half stitch.

Round 1 Clover
[Ring1 : 6 - 3 - 3
Ring2 : 3 + 8 – 8 – 3
Ring 3 : 3 + 3 – 6. rw.
Chain : 6 ss JK6 ss 6 rw.] x 6
Round 2
Chain : [12 vsp 1 lj , ss JK8 lj ss, 1 vsp 12, lj ] x 6
Round 3
Chain: [4N6 lj 2, 2pds – 2pds, 2, lj 4N6 lj]x6 
(4N6 = alternating sets of 4 half stitches 6 times) 

T         


I didn’t change a thing here, except for the thread of course.
 Measurement: 4 cms from point to point.

Techniques : 2 shuttles, ctm ; turn work ; lock join ; floating Josephine knots.

TIP : All chains in 2nd round can be worked from the front without turning work at all. Use reverse (unflipped) stitch for the 6ds chain. This is just like block tatting, and here instead of lock join pull up a loop of ball/shuttle2 thread, pass core shuttle through it, and tension.

T 


Again, I used small picots to link adjacent rings in central medallion instead of the original central picot. All the rest remains the same as in Version 2 of the pattern.
Thus each inner ring is (7-6-7), although one can add decorative picot, thus working them as (7-3-3-7).
Measurement: just over 2½ inches.

Techniques :
Graduated picots,
Floating dots
Floating Josephine rings

It is interesting how the dot is smaller than the JR, despite having exactly same count. Also notice the outline – dot has an irregular outline as compared to the smooth circle of a JR.

For a pointier outer chain, work the JR as a SCMR instead of a thrown ring. Although I like the gently curved chain.
T
Although not mentioned, all my tatting is directional – frontside/backside.


Winter is the season for tatting  ....
as is spring, summer, monsoon, and fall !!!
T

Sunday, 7 May 2017

pattern updates

Pin It now!
Good news – I have finally updated all the patterns and links on my pattern & design page. 
(phew ! But this does not guarantee that all patterns are in pdf, teehee !!!)
Bad news – I still have to work the archives to update my tutorials page 
(shudder !)
Worse news – this is an admin post - dry, brut, sec! 
(sorry Y , but if you enjoy your wine that way, Cheers åå)  


Pattern page overview

All patterns are first linked to the respective blog post in blue, even if a pdf (link in pink) is available. There is always so much more in a post than a pdf and I encourage users to check the post first.

It is over 2 years now that I have been associated with the inspiring, talented and helpful Online Tatting Class group (or “gang”, as Mel puts it) of creative tatters. I continue to learn a lot, and real time interaction is very exhilarating. Many of my patterns, projects, and tutorials have been shared with the class. If a pattern has been shared or published elsewhere, there is a link to the class index /publication in red letters. One can access logs for the class through the index.

I have shifted the Designing section from my tutorials to my patterns page. This includes design ideas, deconstructions, and some of diverse paths I have used in my design process. One never knows when a budding designer might find some path or design useful.


Pattern update
Many weeks this year were dedicated to the spring garland - mainly the presentation; actual tatting was quick and fun. And I recently wound it around my little bun which I wrap on a bit above the nape, and the tatted veni & hair looked gorgeous! 
I had hoped to add tassels at the ends, but didn't get around to it. 
I tried tatting 3D jasmine buds - the buds look fine, but the green needs working.

All pdfs for the Spring Garland pattern are now complete and uploaded to My Patterns page with the respective links. Each post is also updated. As I stated, I request tatters to visit the respective post for more tips, pictures, and explanation.
Here are the final pattern pdf links :
mustard fields pictorial in post (and as part of complete garland pdf)

Each part and complete pattern was shared with Online Tatting Class throughout April and lots of fun and wonderful ideas emerged (some quite ambitious as per moi ;-P ) - enough to keep one busy for a lifetime !

Judy kindly shared tips about working some parts of the pattern in needle tatting. I hope to get around to it some day. Many many thanks, Judy :-)


I also keep forgetting to mention that at the end of each post there is now an option (actually 3 options ‘coz I haven’t bothered to find out how to delete the extras ;-P) to print or save the entire post as a pdf. Click on that Print / PDF button to save the post as desired. 

Hope you enjoy your weekend with lots of lace being created :-)
Always have a muskaan on your face :-D