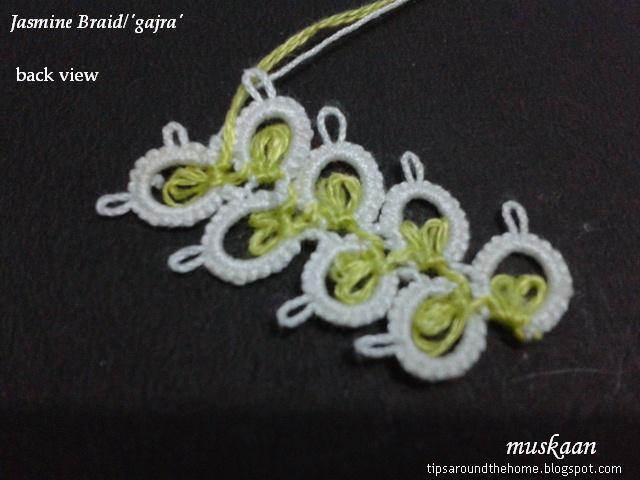
3rd of 3 spring garlands.
the first 2 can be found here : Marigold toran and Jasmine gajra
UPDATE (April 10) : the complete Spring Garland
 This is a playful pattern where
simple flowers create a fabric as broad and as long as we desire, and where we
can romp carefree in any direction as in a field of yellow mustard !
This is a playful pattern where
simple flowers create a fabric as broad and as long as we desire, and where we
can romp carefree in any direction as in a field of yellow mustard !
 This piece was tatted in size 20 for purposes of the pictorial only. It looks much better in smaller thread as seen in the collage (top left & prototype in center which used split rings & beads on picots initially, till I decided to go freeform) . The beads in above piece were chosen to represent spots of green foliage peeping through the lushness of flowers, and golden rays reflected back.
the first 2 can be found here : Marigold toran and Jasmine gajra
UPDATE (April 10) : the complete Spring Garland
Spring Garland
The Mustard Fields !
Northwest India turns a bright yellow with advent of spring. It is the best
time to take a drive down through the states of Punjab
and around – bright yellow as far as the eye can see. Many communities make it
a point to wear yellow on Basant Panchami to emulate and celebrate these yellow
mustard flowers !
 (UPDATE April 18, 2017: now that the entire spring garland is shared, I can show you the mustard fields in size 50 thread above)


The pictorial is lengthy, though pattern is simply one picoted ring, in order to show alternatives.
It is quicker to tat than to explain/photograph :-)
Materials : 1 shuttle fully loaded with
size 40 or 50 thread. (For the pictorial, I have used size 20 thread to better capture the steps)
Techniques : Ring on picot* , long picots , bare thread space , mock picot (optional) , lock join (optional) , beads (optional).
Measurement : ¾ inch wide in size 50 –
between 3 to 4 flowers. Length as required.
Please review :
*Patty Dowden’s video for How to work a ring on the picot of another ring :
(I did not have to post the shuttle back before closing
ring. Hence it is advisable to practice a few flowers with scrap thread before working the
final piece)
Beads can be strung on shuttle thread or added on
loop/picot, depending on effect desired.
Basic Pattern :
Ring
: 1ds, (p, 1ds) 7 times.
The next ring is started at a distance equal to the picot.


In order to keep symmetry of first ring, one can use the
tail to make a mock picot, and ...
 ... tat over the tail in next ring to hide end.
RING ON PICOT METHOD :
 Start ring on a picot of previous ring using Patty's method. Pull up loop through any picot ...
 pass shuttle from below to front, ...
 and tat the ring.
Note : you may or may not need to post the shuttle back through the top before closing.
 3 rings made.
LOCK JOIN METHOD :
Alternatively, one can lock join to any picot of previous ring and commence ring from that point :
 pull up a loop through any picot and pass shuttle through it ...
 ... and tension it. Make certain there is some bare thread left under to span the distance between base of ring and picot.
 Ring 4 made after the lock join.
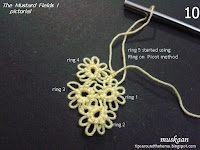

Ring 5 started using the Ring on Picot method. This is the preferred method I used for most of the rings.
Continue in this fashion, creating a broad fabric of 3-4 flowers along the width
A ZIGZAG MEANDERING PATHWAY :
 Sometimes, one can start a 'free' unattached flower at a distance (notice the bare thread at beginning of ring) ....
 and then lock join to any picot of an earlier flower.
Notice the arrows showing sequence of flowers . The work progresses from left to right and back to left and so on....
With the lock join just made,
 take the thread back from below and bring up a loop through any picot of a previous flower or even through the bare thread we left in pic #12, and start another flower using the ring on picot method
We are now moving back towards the left for another row of flowers !
FINAL NOTES :

RING ON PICOT METHOD :


Note : you may or may not need to post the shuttle back through the top before closing.

LOCK JOIN METHOD :
Alternatively, one can lock join to any picot of previous ring and commence ring from that point :


Ring 5 started using the Ring on Picot method. This is the preferred method I used for most of the rings.
Continue in this fashion, creating a broad fabric of 3-4 flowers along the width
A ZIGZAG MEANDERING PATHWAY :


Notice the arrows showing sequence of flowers . The work progresses from left to right and back to left and so on....
With the lock join just made,

We are now moving back towards the left for another row of flowers !
FINAL NOTES :
- The ring pattern remains constant, though it may be necessary to join to another ring to cover gaps. In that case, maintain a picot length for the join, resembling other picots.
- Try to keep as many picots free in each ring as possible for textural effect.
- The pathway/sequence is zigzag but freeform. Let your shuttle free !
- The entire pattern is worked from the front, hence there may be bare threads spanning rings on the underside. Try to keep them as short as possible, making the rings close to each other.
- The picots in this pictorial should've been longer to cover up any gaps.
- Beads can be loaded on to shuttle and brought forward between rings, or loose beads can be inserted over a loop pulled between rings.

This fabric can take any shape one wants - straight, curved, or circular !
It can even be used as a filler, adding a lacy texture. Or simply make a small posy of flowers (I used the ring on picot technique to make a 3D carnation).
With beads, this broad fabric can be used as a bracelet, necklace, anklets, sewed on to a belt or headband,....
I have one last post to reveal the final Spring Garland with all it's floral fragrances. Hope you join me again.
It can even be used as a filler, adding a lacy texture. Or simply make a small posy of flowers (I used the ring on picot technique to make a 3D carnation).
With beads, this broad fabric can be used as a bracelet, necklace, anklets, sewed on to a belt or headband,....
I have one last post to reveal the final Spring Garland with all it's floral fragrances. Hope you join me again.
till then, happy tatting always :-)
This pattern shared with the Online Tatting Class in April, 2017